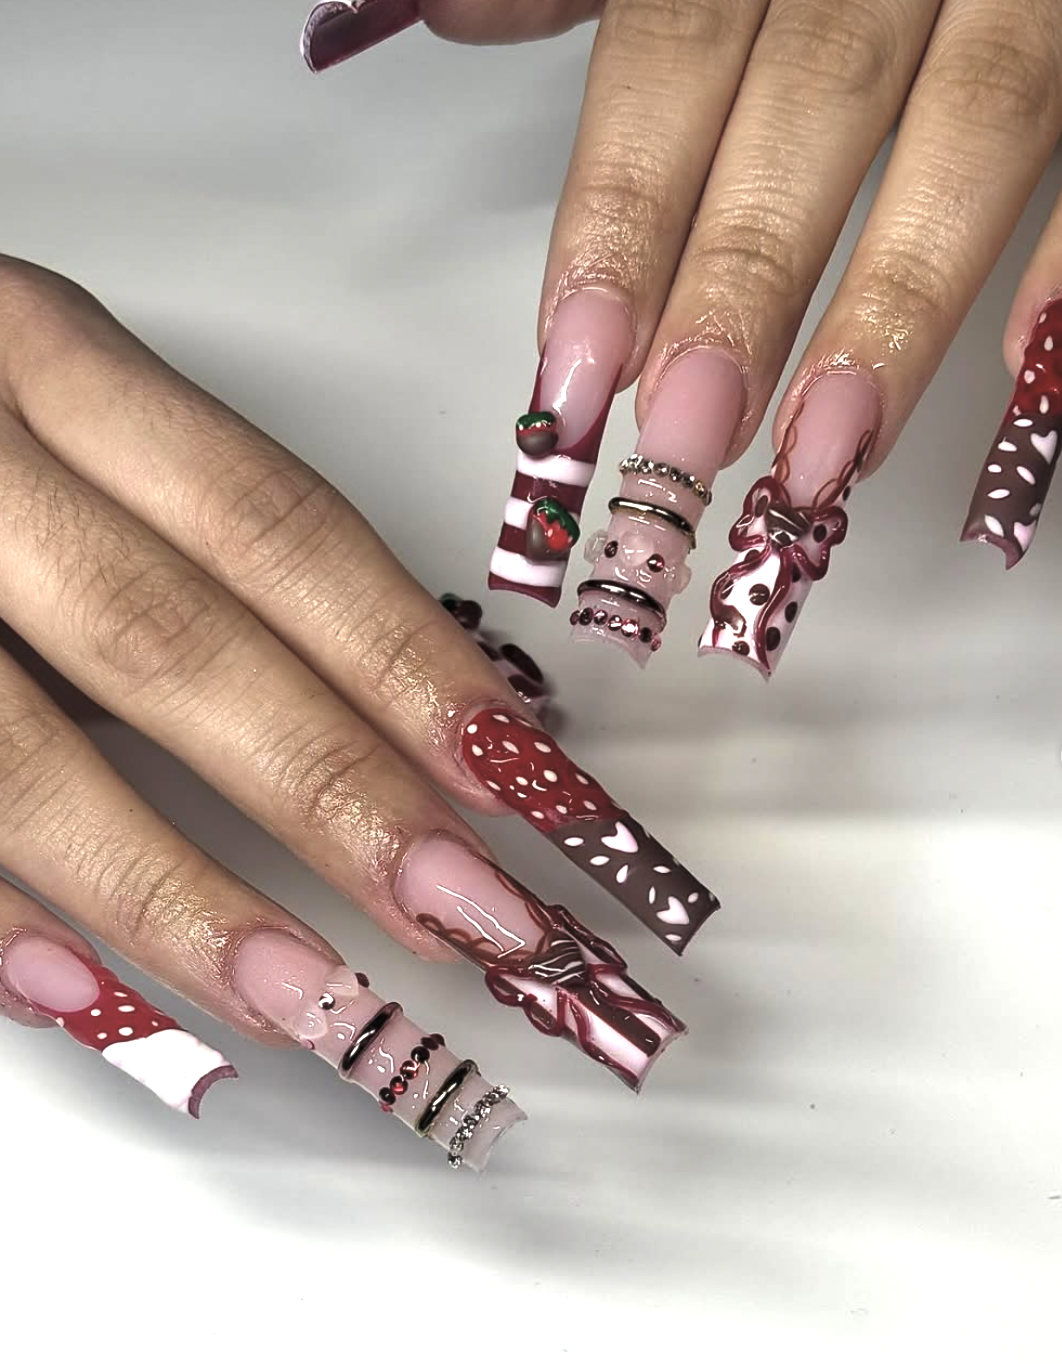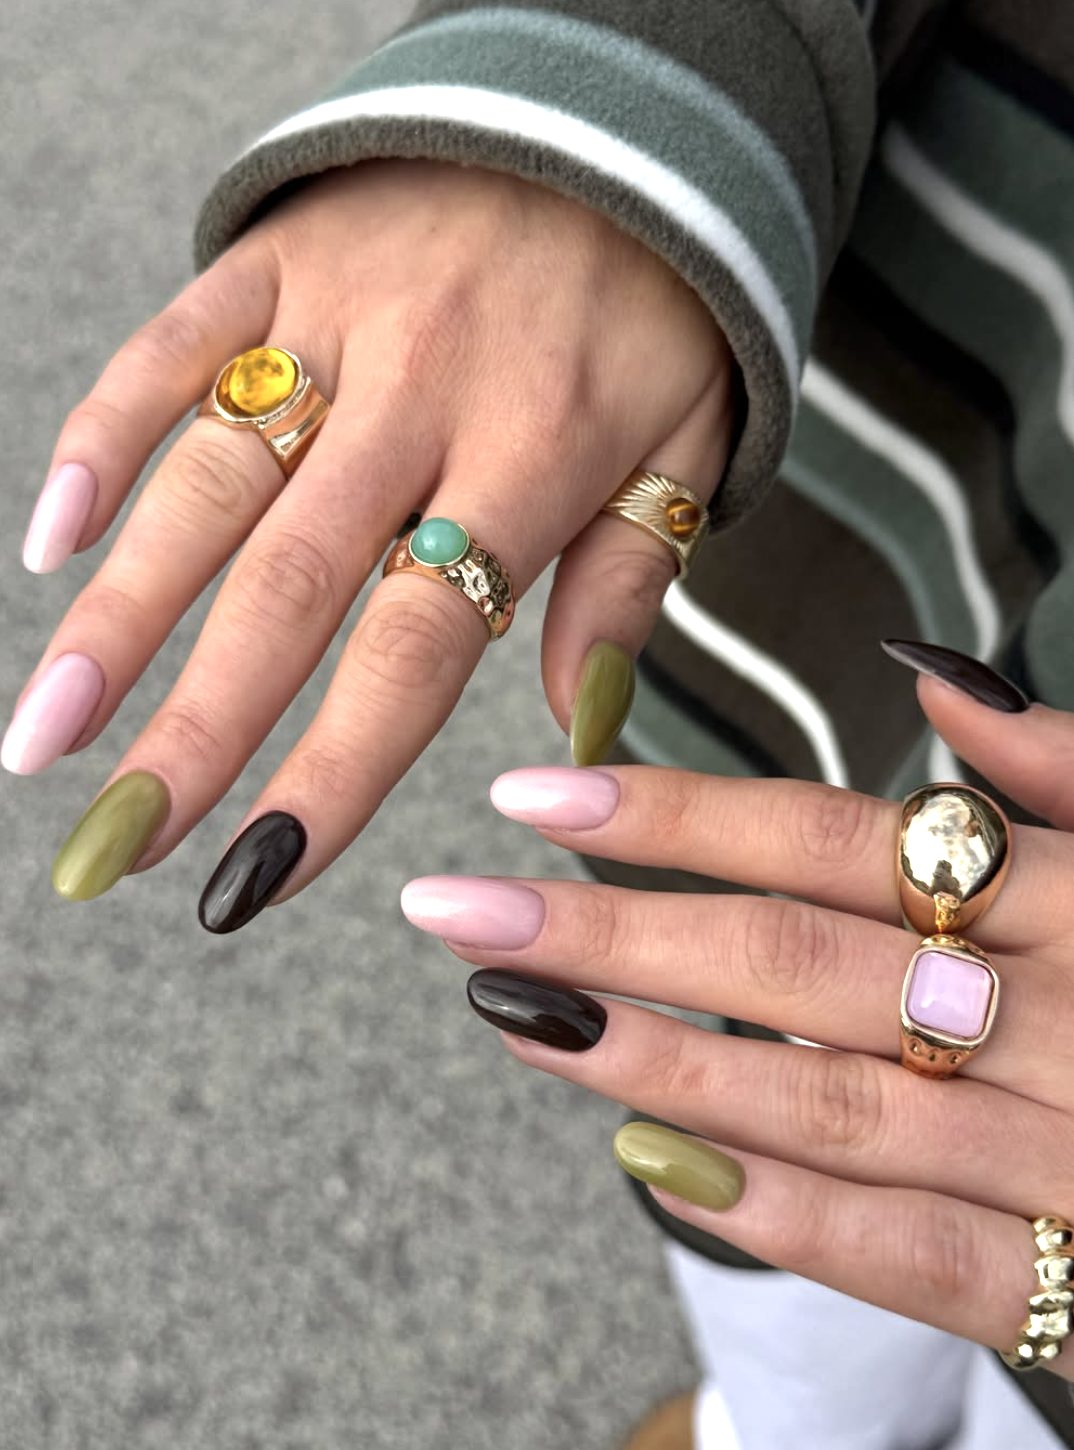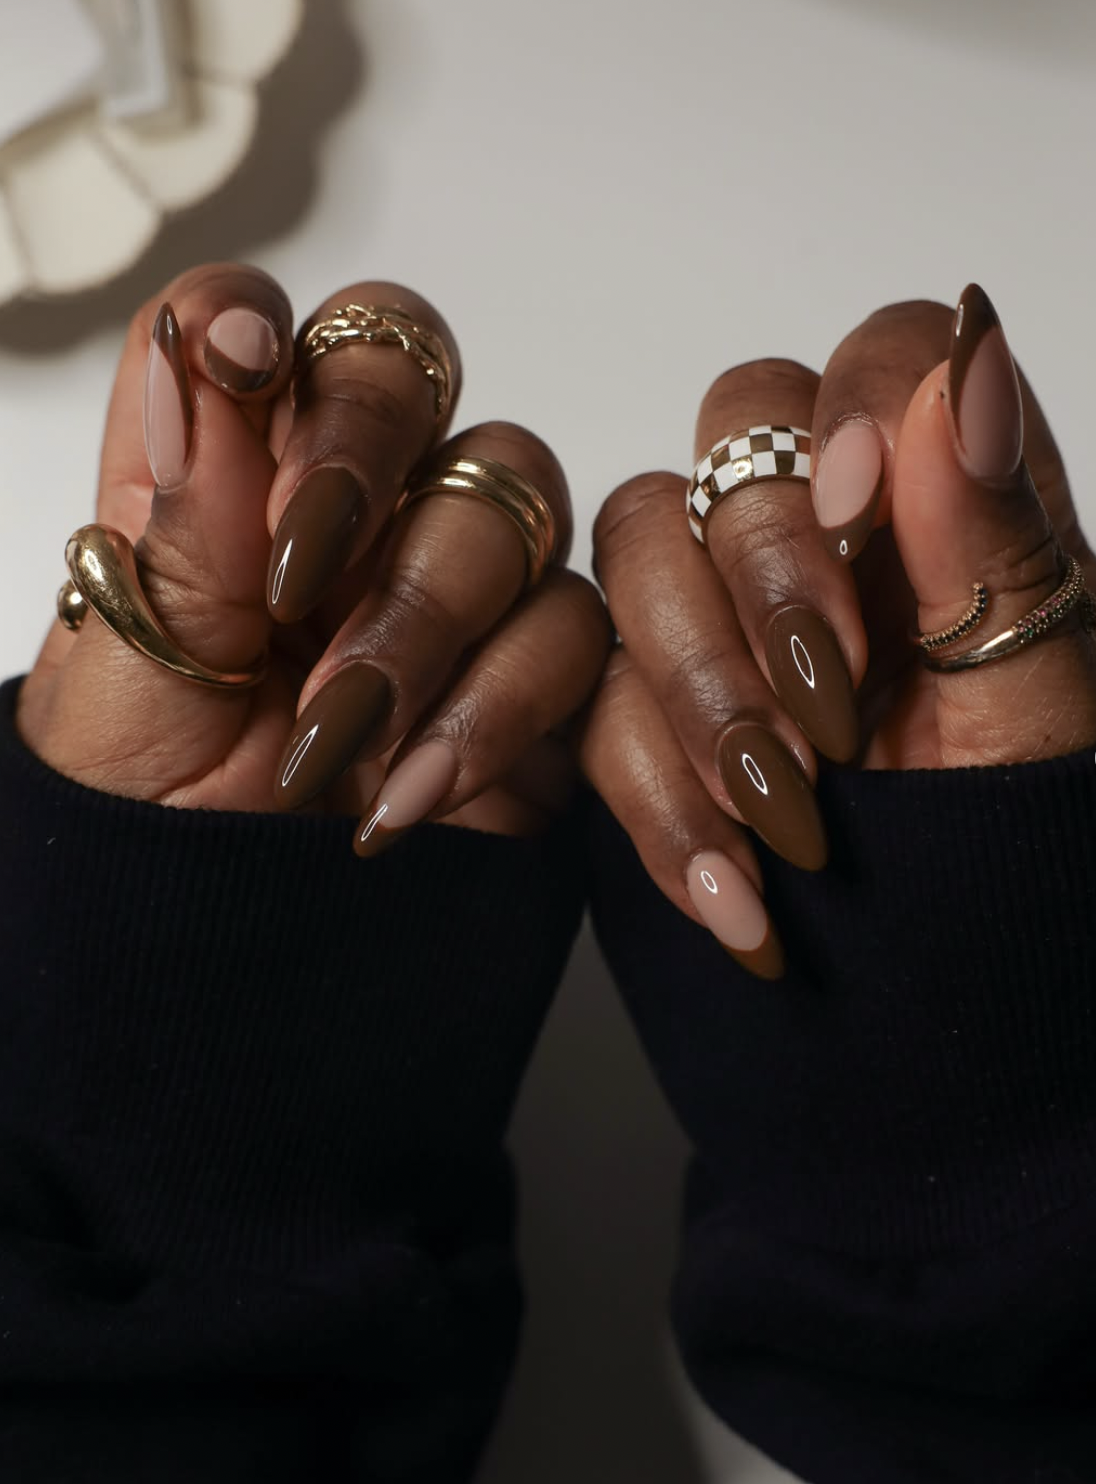
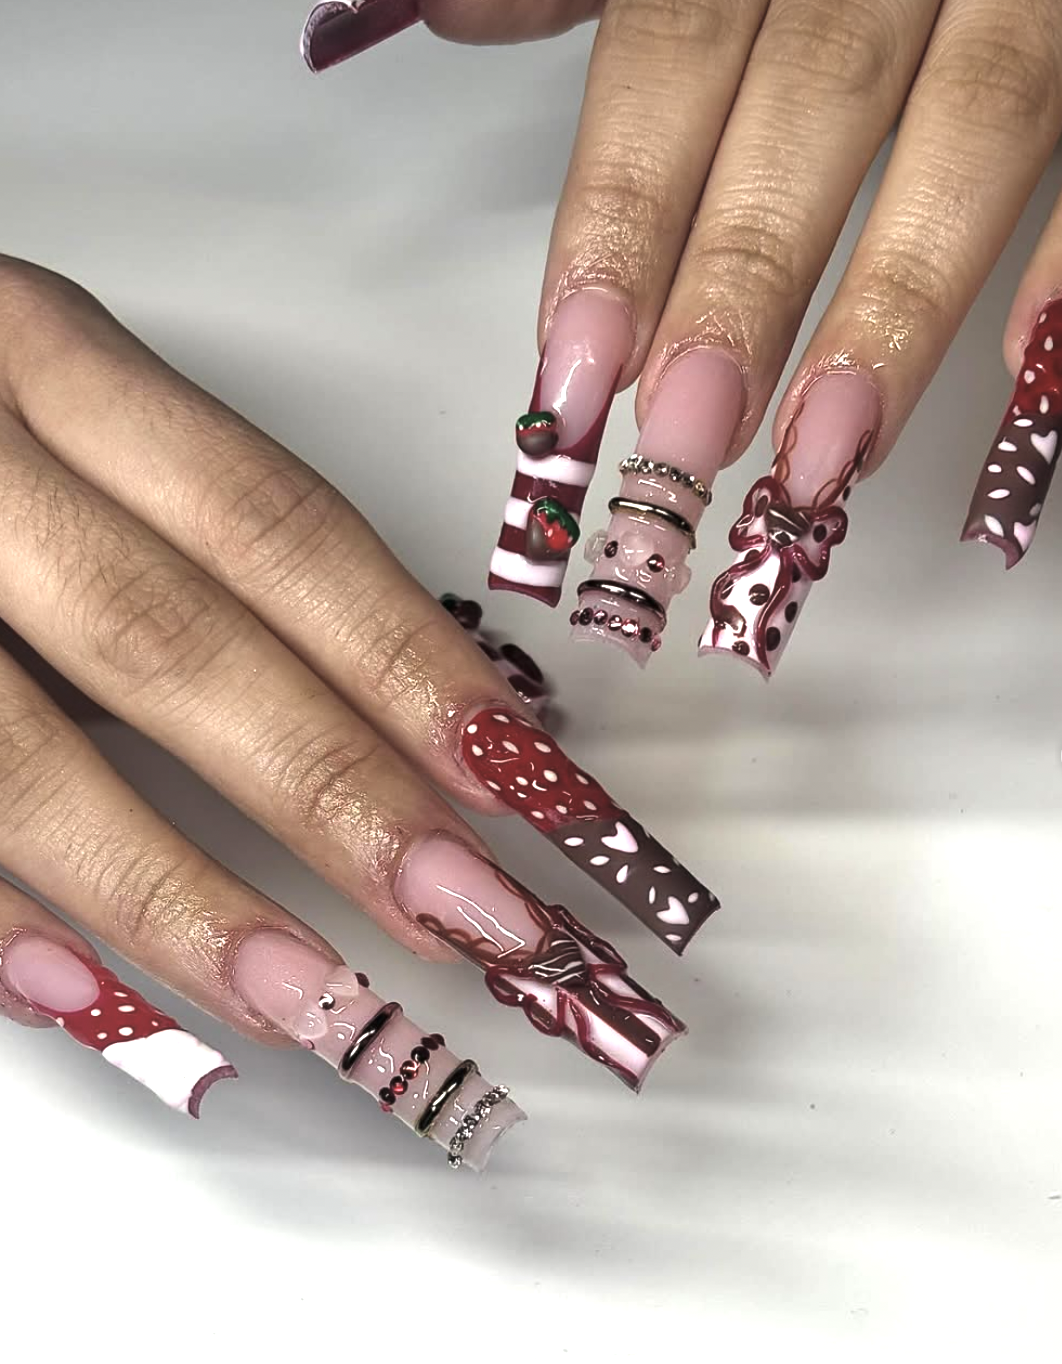
Photo Credit:@opulent_nailsbydiana
Brown nails are easy to love until you want something a little less predictable. Red nails rarely disappoint, but sometimes a full set feels like more of a statement than you had in mind. Chocolate-covered strawberry nails sit somewhere in between: rich cocoa, juicy berry and, if you want it, a little soft pink.
The name sounds elaborate. The manicure doesn’t have to be. You can go literal with a tiny dipped strawberry, or let the color combination do the work with brown French tips and a rosy base. That second approach is what makes this feel wearable beyond a themed appointment.
Pinterest includes chocolate-covered strawberry nails in its 2026 Beauty Trend Report, alongside other dessert-inspired manicures. But the appeal isn’t really the name. It’s the contrast: brown grounds the sweetness of pink and red, while berry keeps chocolate from feeling too serious.
Here are 10 ways I’d approach the combination, from a short, two-color manicure you could do at home to a more detailed set worth bringing to your nail artist.
Sign Up here To Get More Nail Content Sent To Your inbox.
What Are Chocolate-Covered Strawberry Nails?
Think of them as a color story rather than one fixed design. The core is chocolate brown paired with strawberry red or pink. Some versions add a creamy accent, fruit artwork or a curved edge that looks like a berry dipped in chocolate.
For a quieter finish, choose deep cocoa and dusty pink. For more contrast, try espresso with a clear strawberry red. Keep the brown visibly brown under daylight; if it reads almost black, the result will feel sharper and less softly dessert-inspired.
If the chocolate shade is the part you’re most interested in, these brown nail ideas offer more ways to wear it without the berry detail.
1. Glossy Cocoa With One Strawberry-Red Nail
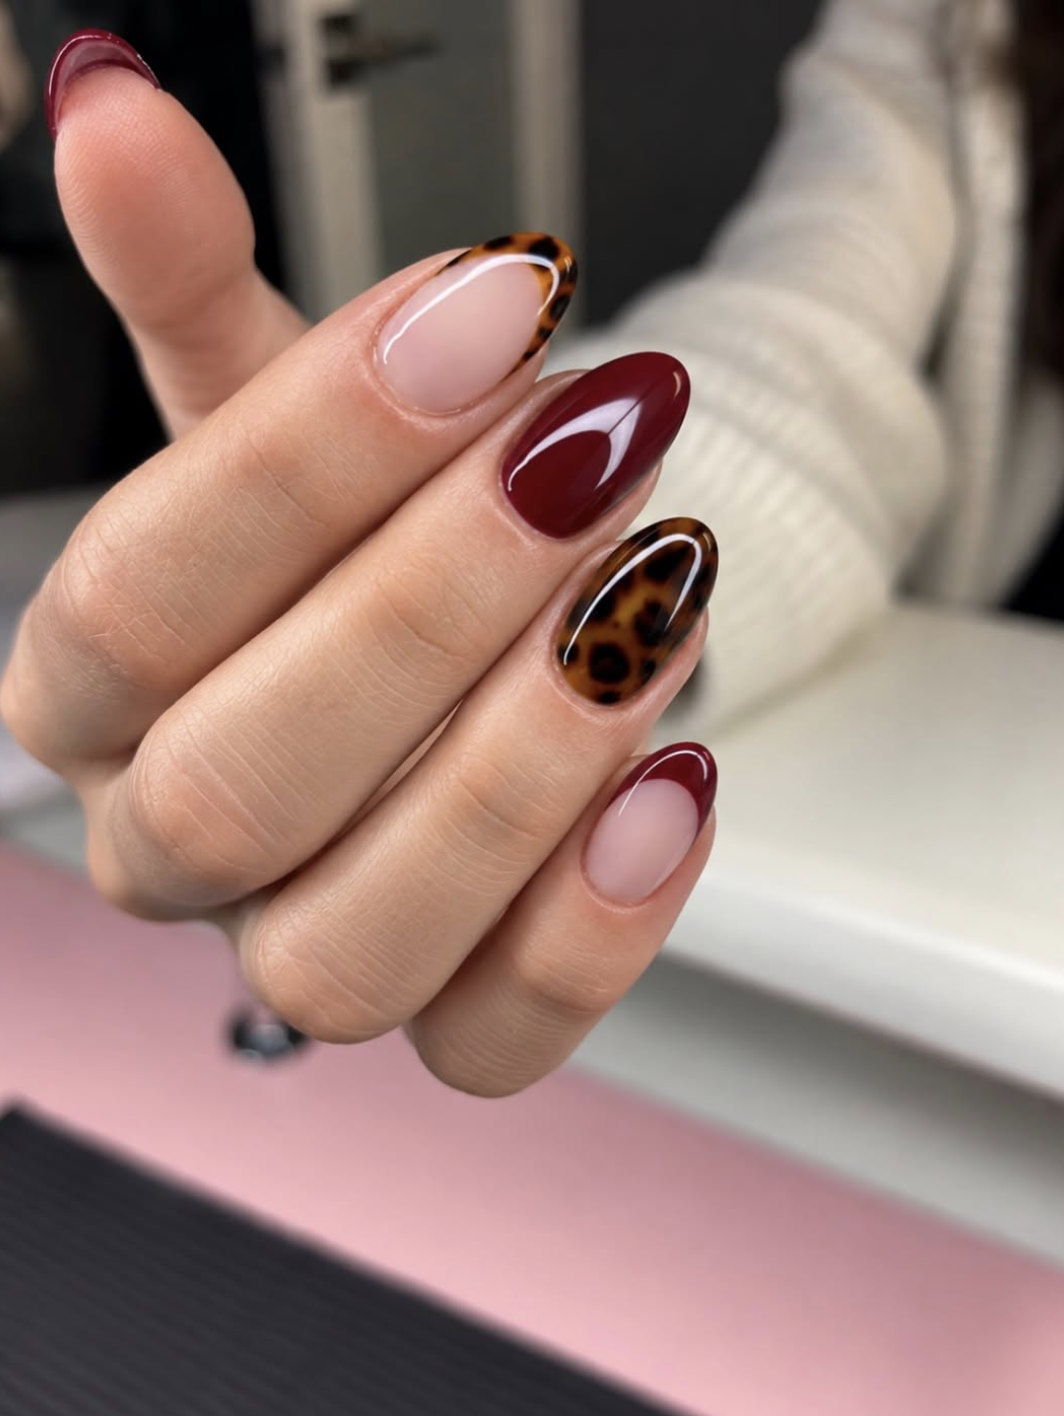
Photo Credit:@cristinaboldbeauty
Start with the simplest version: four chocolate-brown nails and one strawberry-red accent on each hand. There’s no illustration to explain, no extra texture to maintain just a well-chosen pair of colors.
2. Strawberry-Milk Pink With Cocoa Micro Tips
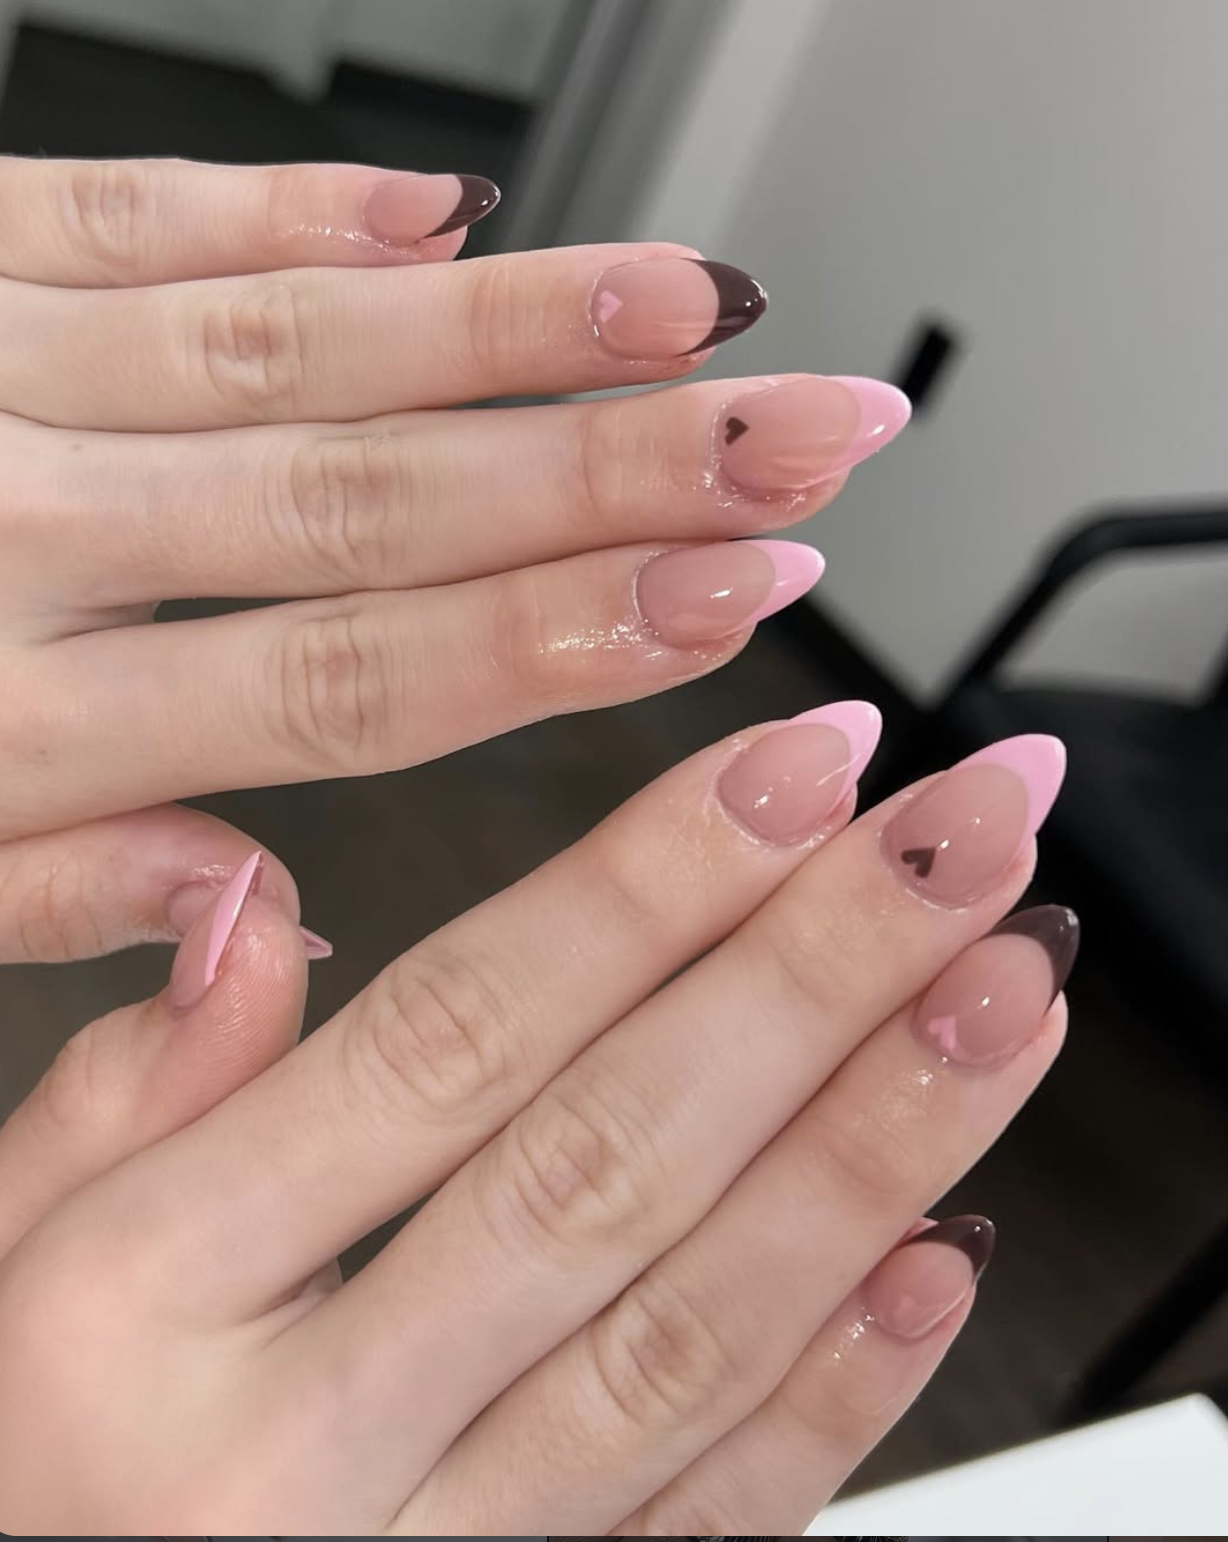
Photo Credit:@nails.by.indi
A translucent pink base and a fine chocolate French tip give you the palette without committing to a darker full set. It’s a good starting point if you usually leave the salon with a sheer neutral.
3. The Half-Dipped Strawberry
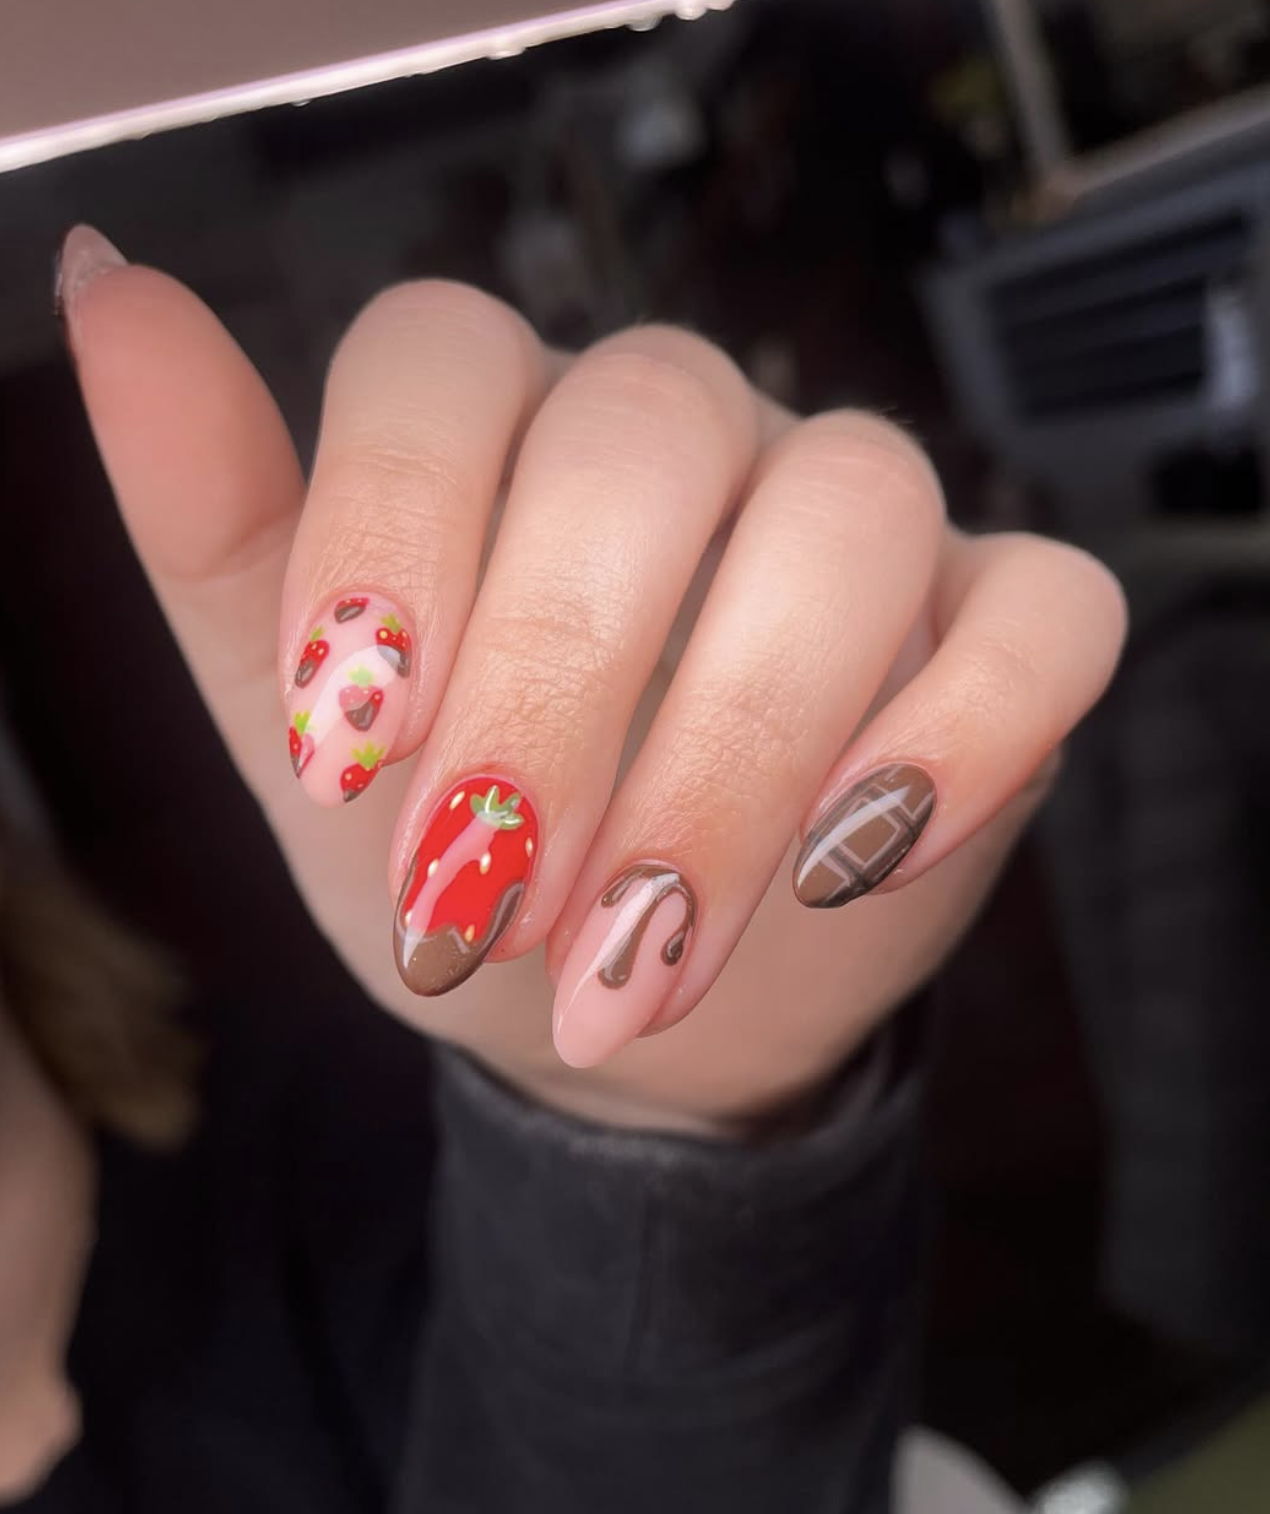
Photo Credit:@adi.s_nailcessities
This is the version that makes the name immediately clear: a strawberry-red base with a curved section of chocolate brown crossing the tip. Think dipped edge, not a perfectly symmetrical French manicure.
A slightly uneven boundary gives it that chocolate-dipped feeling. Keep the surface smooth rather than adding raised drips if you want a less elaborate finish. Medium-length oval nails leave enough space for both colors to show.
4. One Tiny Strawberry, Not an Entire Fruit Bowl
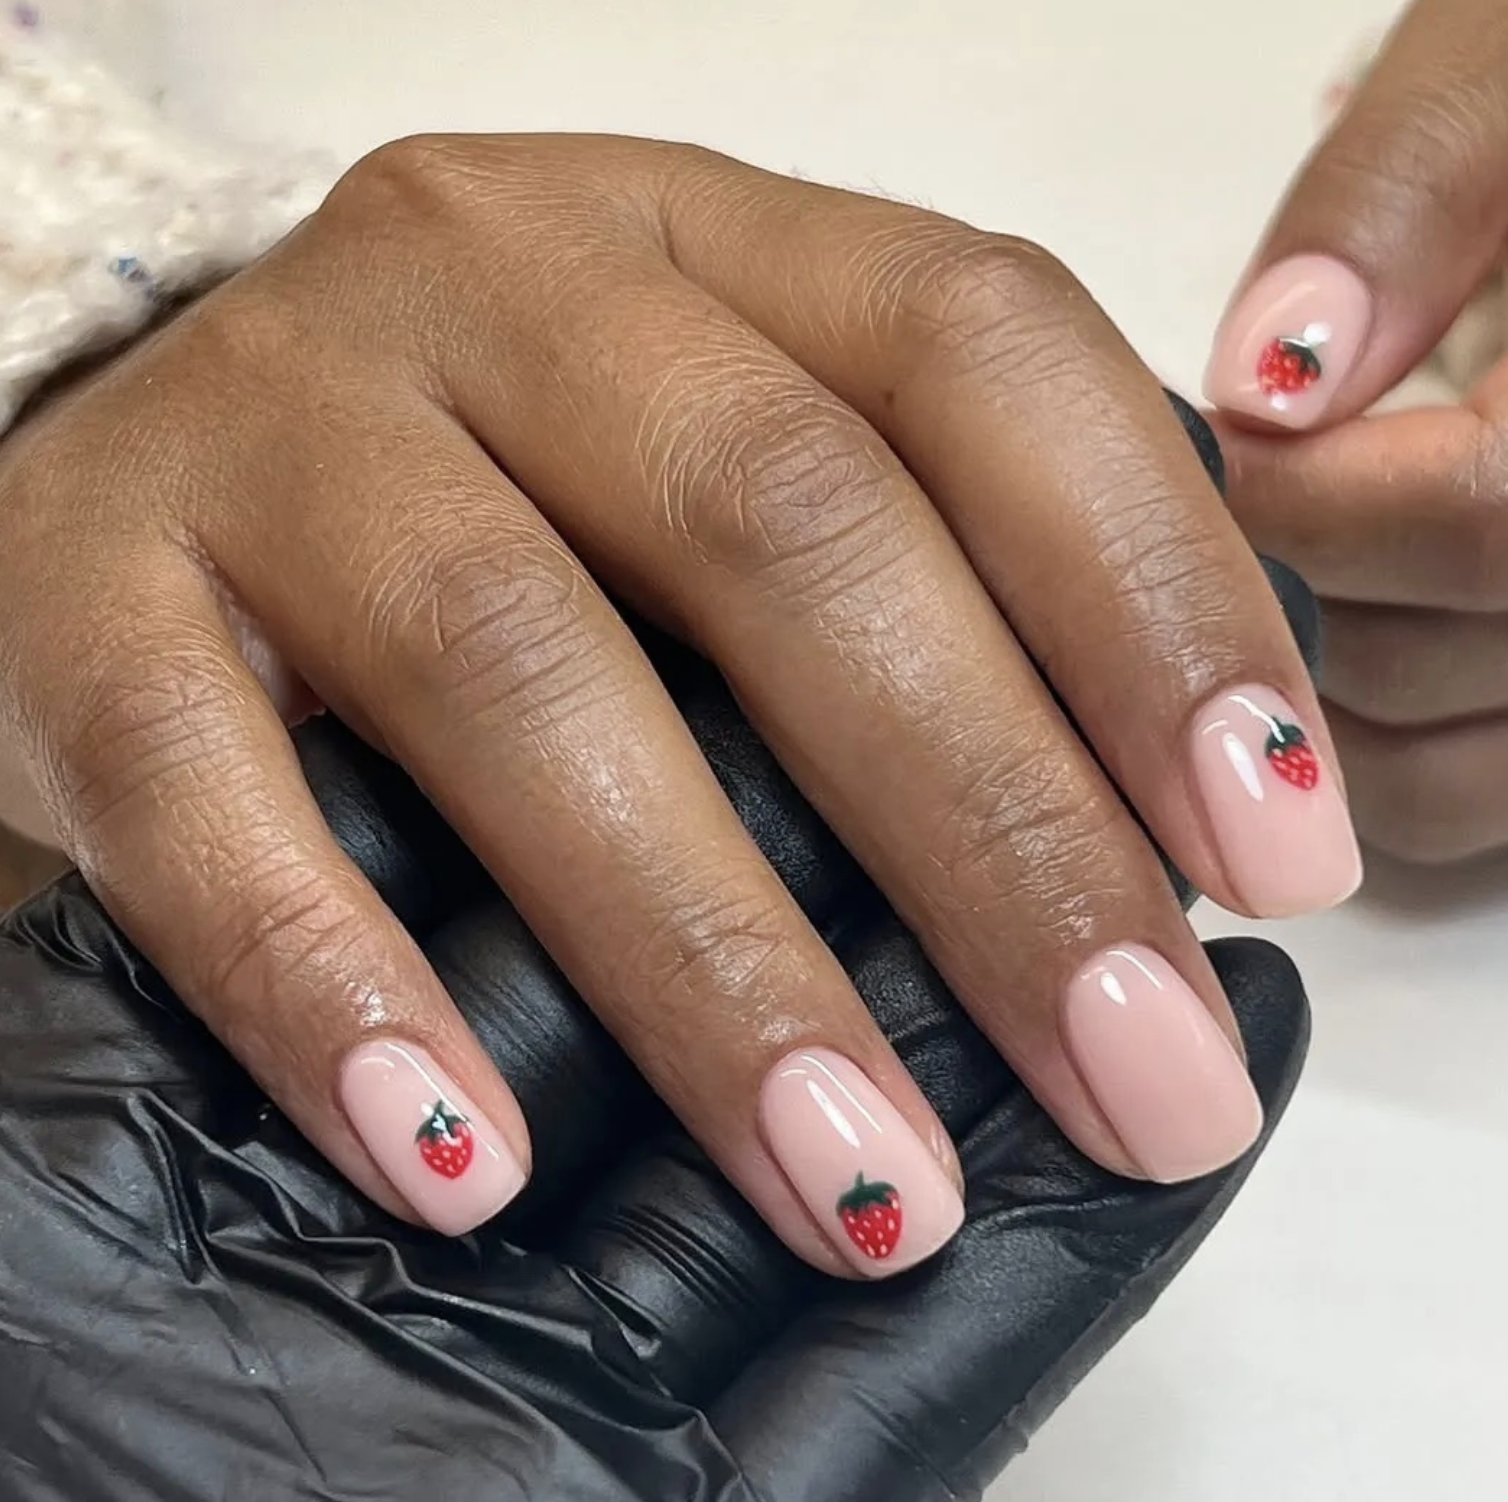
Photo Credit:@uniquenails.cherryhill
A single strawberry accent can be charming without turning every nail into a miniature illustration. I’d place it on a sheer pink ring finger and keep the remaining nails glossy cocoa.
Ask for a small red berry with minimal seed dots and a restrained green leaf. Leaving space around it matters more than adding extra detail. If you want the literal chocolate-covered version, have the artist paint a brown dipped section over the lower half of the berry.
5. Brown and Berry Color Blocks
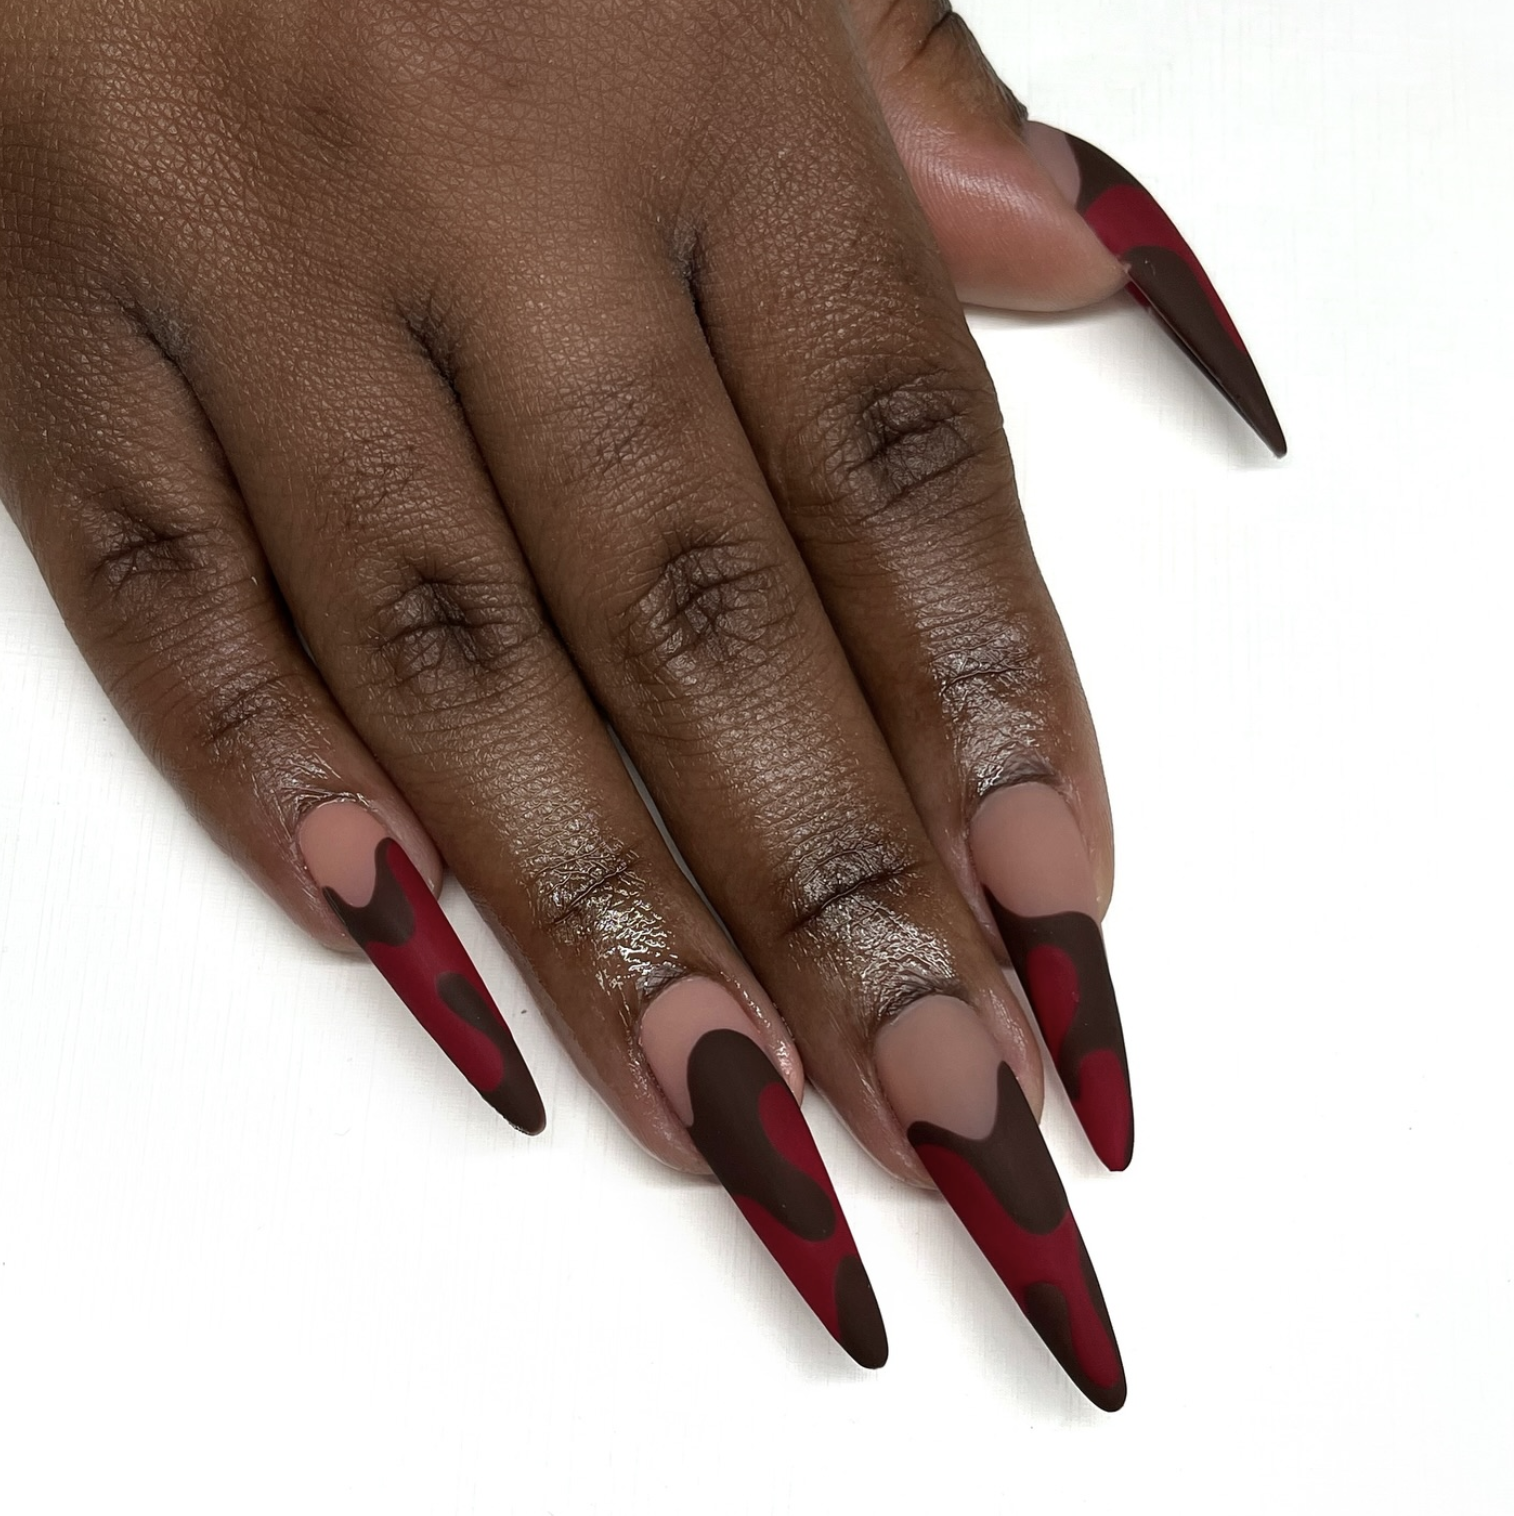
Photo Credit:@baddienailz
For something more graphic, divide each nail into two clean sections: cocoa on one side and berry pink on the other. A diagonal boundary adds movement without needing swirls, glitter or charms.
Keep the division consistent across the hand, or alternate the direction on just two nails. This is especially striking on a soft square shape, where the straight edge plays well against the diagonal line.
6. Pink Nails With a Cocoa Side Curve
Instead of putting the brown at the tip, sweep a slim curve down one side of a rosy nail. You still get that contrast, but most of the nail stays light.
7. A Chocolate-and-Strawberry Checker Accent

Photo Credit:@shydreamsstudio
A small checkerboard gives the color pairing a playful, graphic direction. Keep it to one accent nail, then alternate solid pink and brown across the rest of the hand.
8. Rosy Centers With a Chocolate Frame
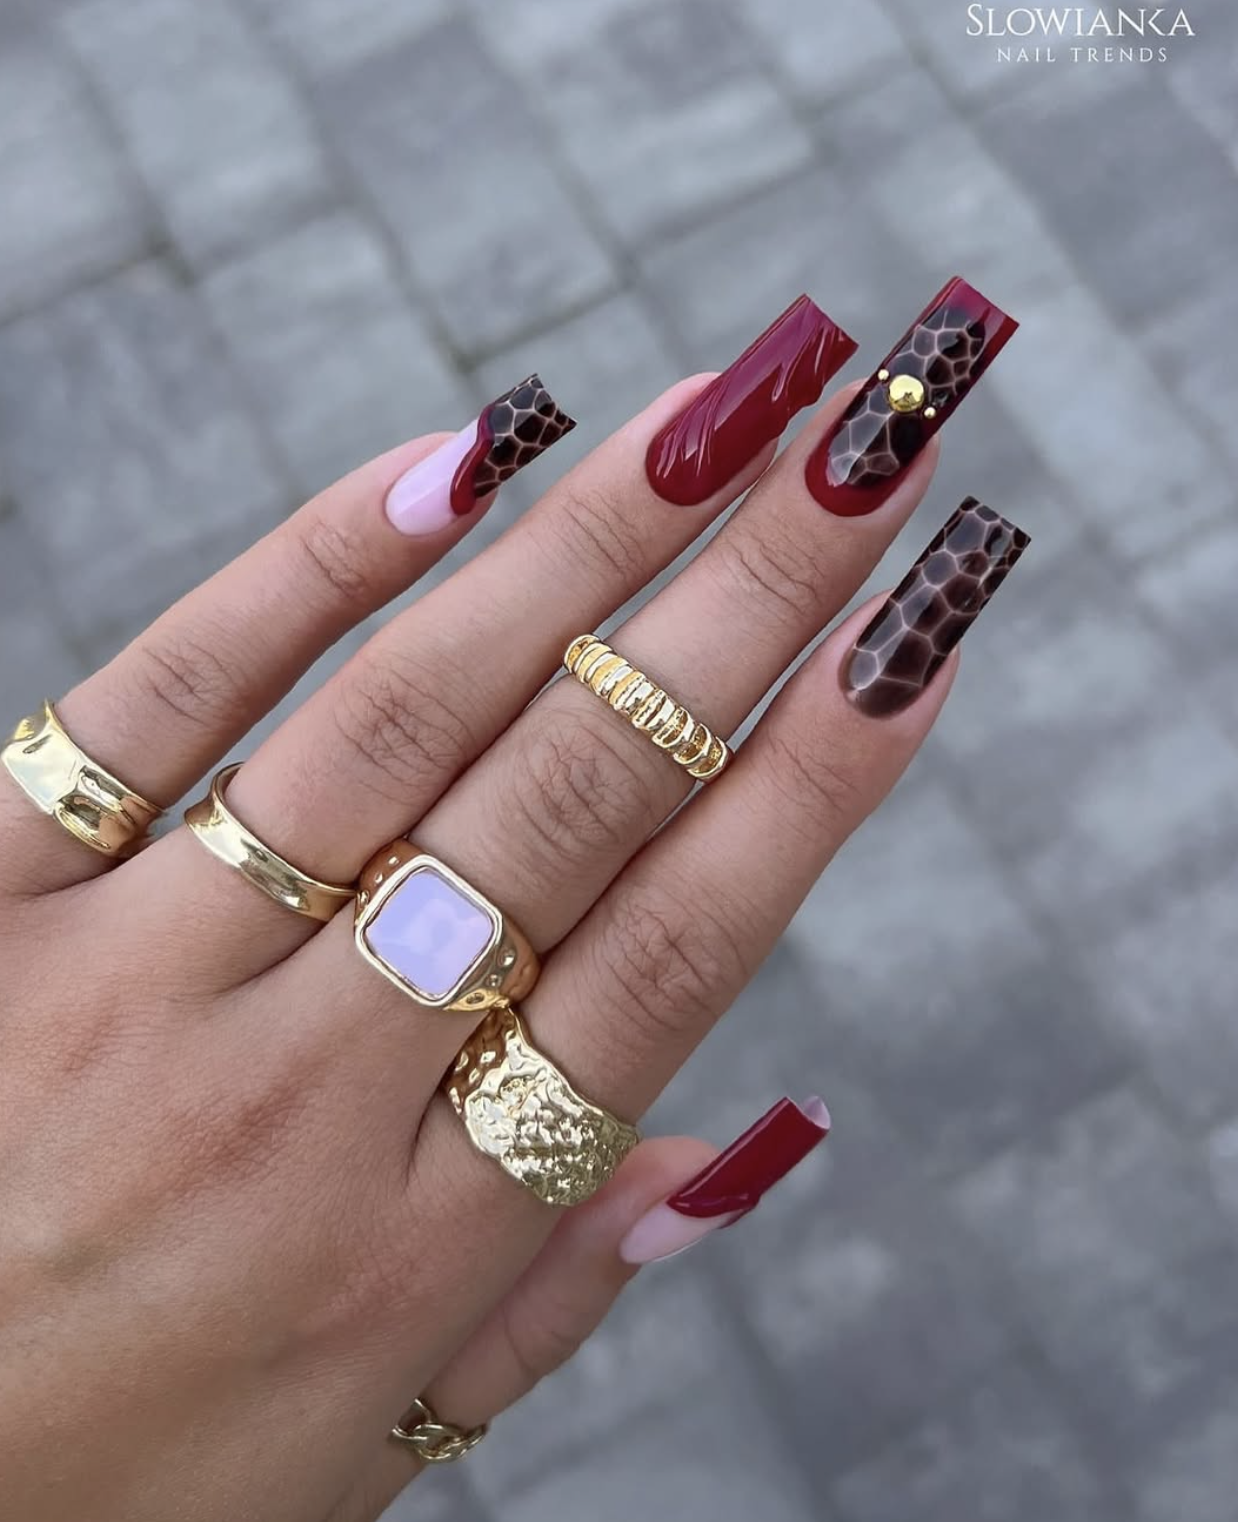
Photo Credit:@slowianka_nails
A fine brown outline around a rosy center makes the nail look almost framed. Unlike a French tip, the outline follows the sides as well as the free edge, creating a more graphic finish.
This one benefits from a precise hand, so bring a reference or ask your artist to sketch the placement first. Keep the border slim, and leave the cuticle edge bare if you want a softer, less enclosed version.
9. A Muted Pink-and-Brown Gradient Across the Hand
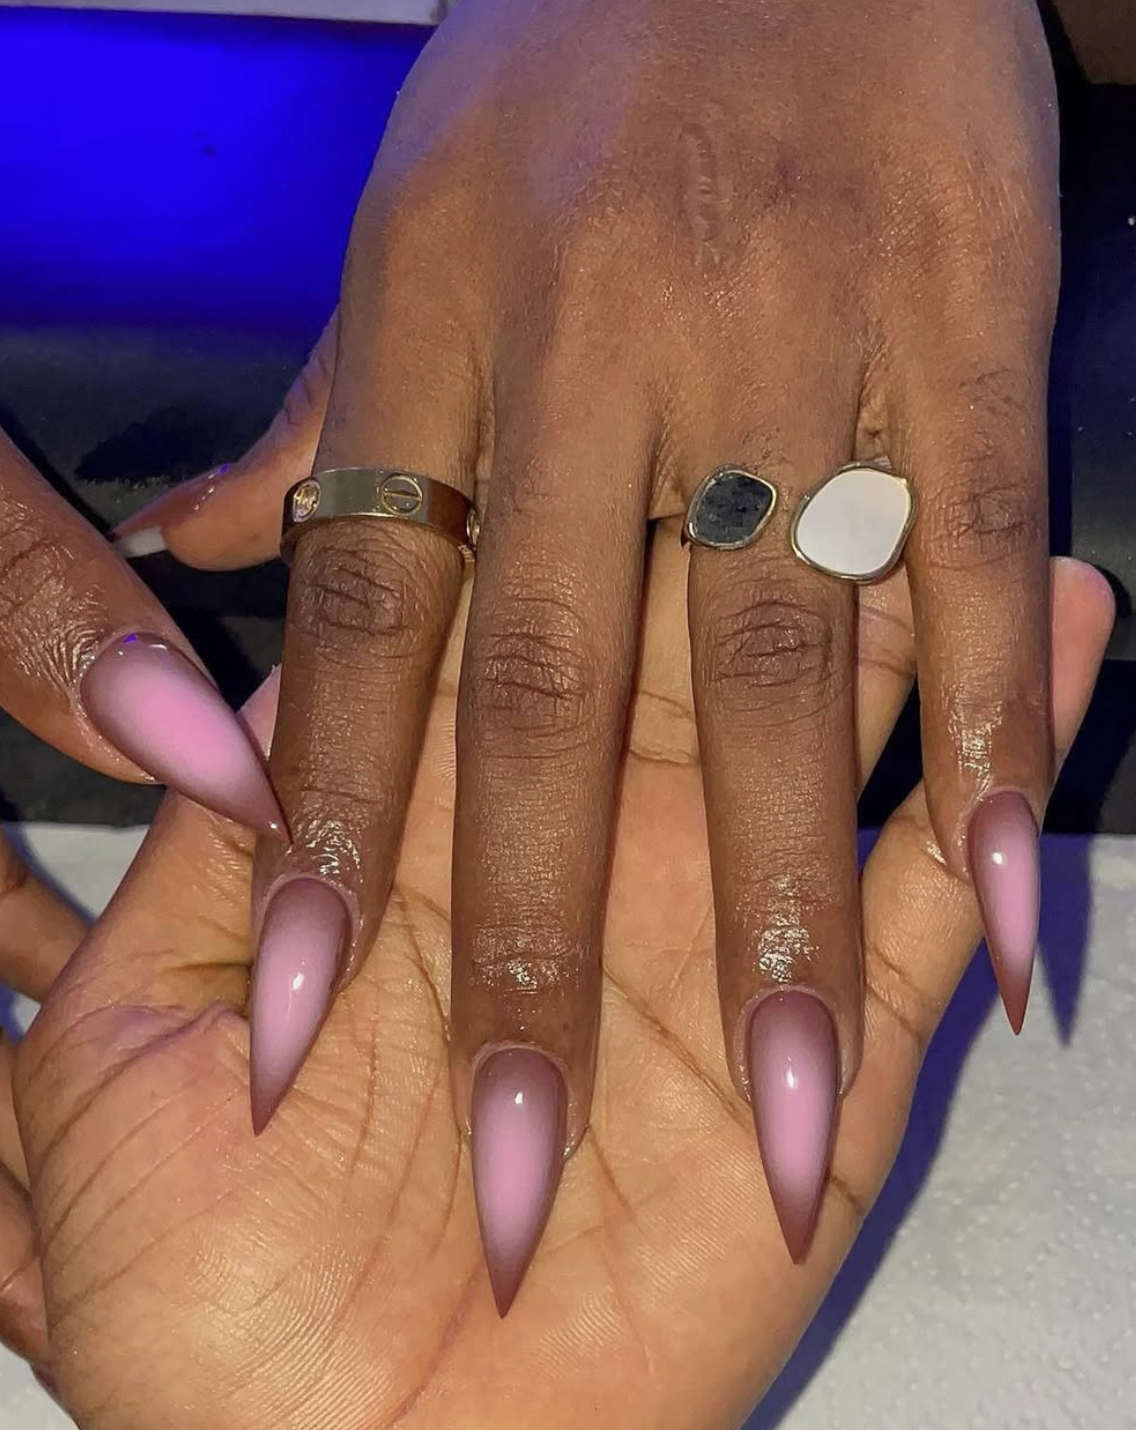
Photo Credit:@@humbliztic_nailz
Not every version needs nail art. Choose a small family of shades—soft rose, strawberry pink, rosy brown, milk chocolate and deep cocoa—and wear one on each finger.
The trick is making the colors feel related rather than random. Keep the pinks muted and use the same finish throughout. It’s a softer alternative to the brighter designs here, and it fits naturally alongside other earth-tone nail designs.
10. A Strawberry-Red French Tip With a Brown Underline
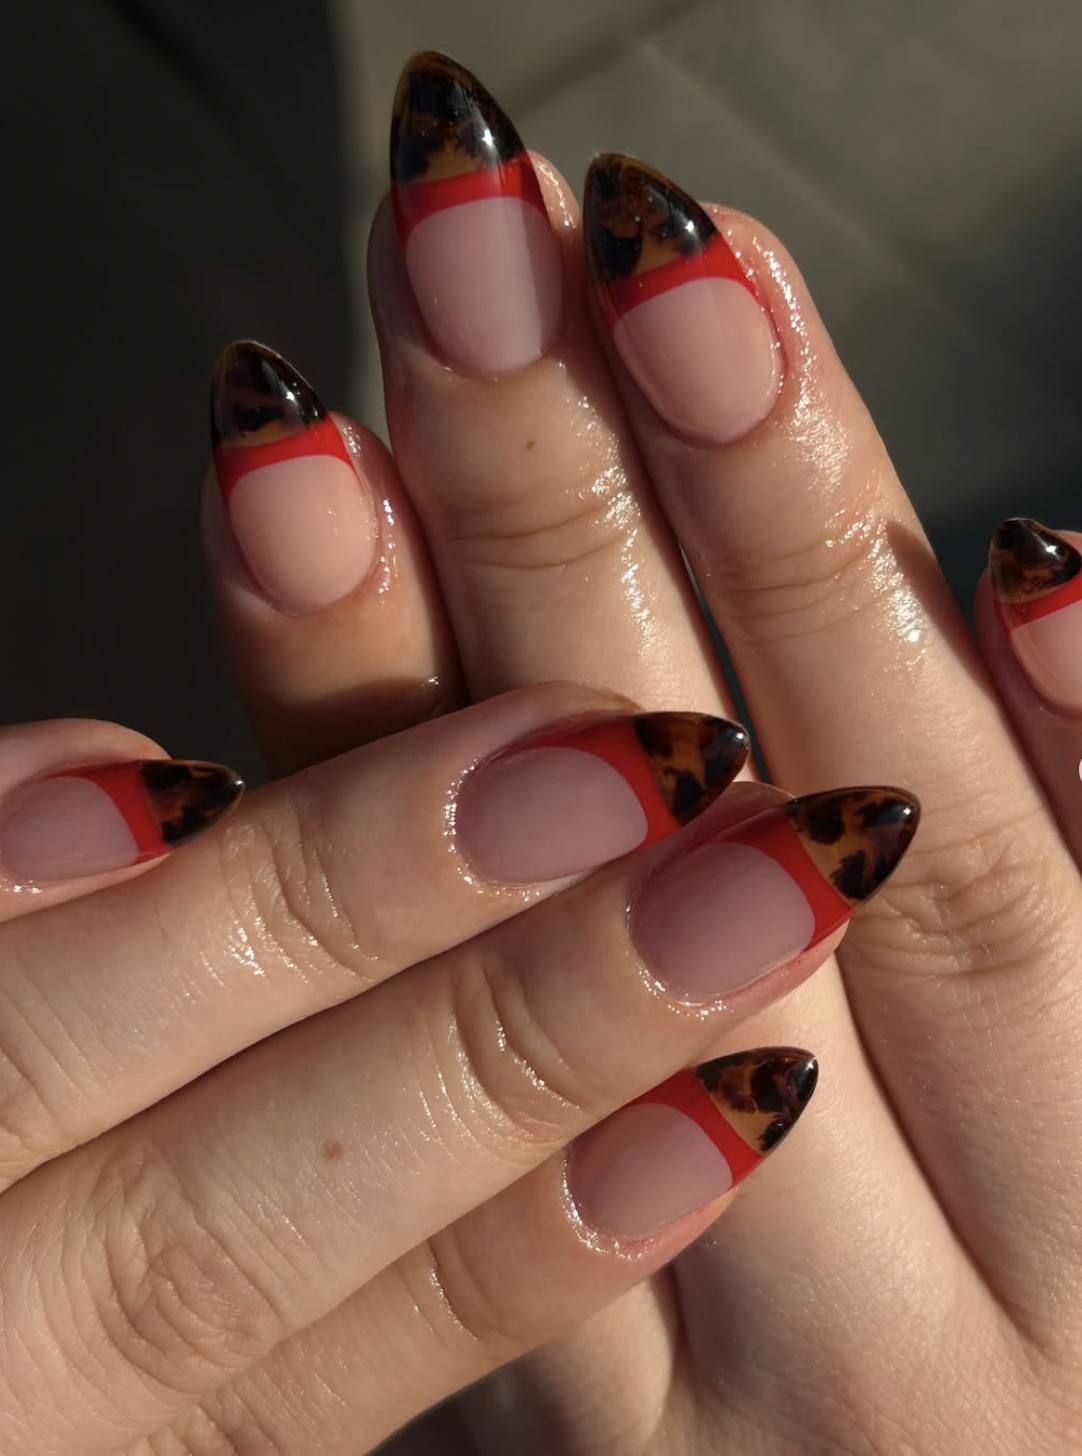
Photo Credit:@wildflowerr.studio
Reverse the usual balance: a sheer base, a red French tip and a very thin brown line underneath. You get the brightness of a red manicure with just enough cocoa to make the combination interesting.
On a shorter nail, keep both lines fine. On a longer almond shape, the red can be a little deeper while the brown remains a narrow outline. Skip extra accents—the layered tip is already the detail.
You May Also Like:
15 Caramel Nude Nail Ideas That Make a Simple Manicure Look So Good
I'm Really Into Earthy Nails Right Now, and These 15 Designs Explain Why