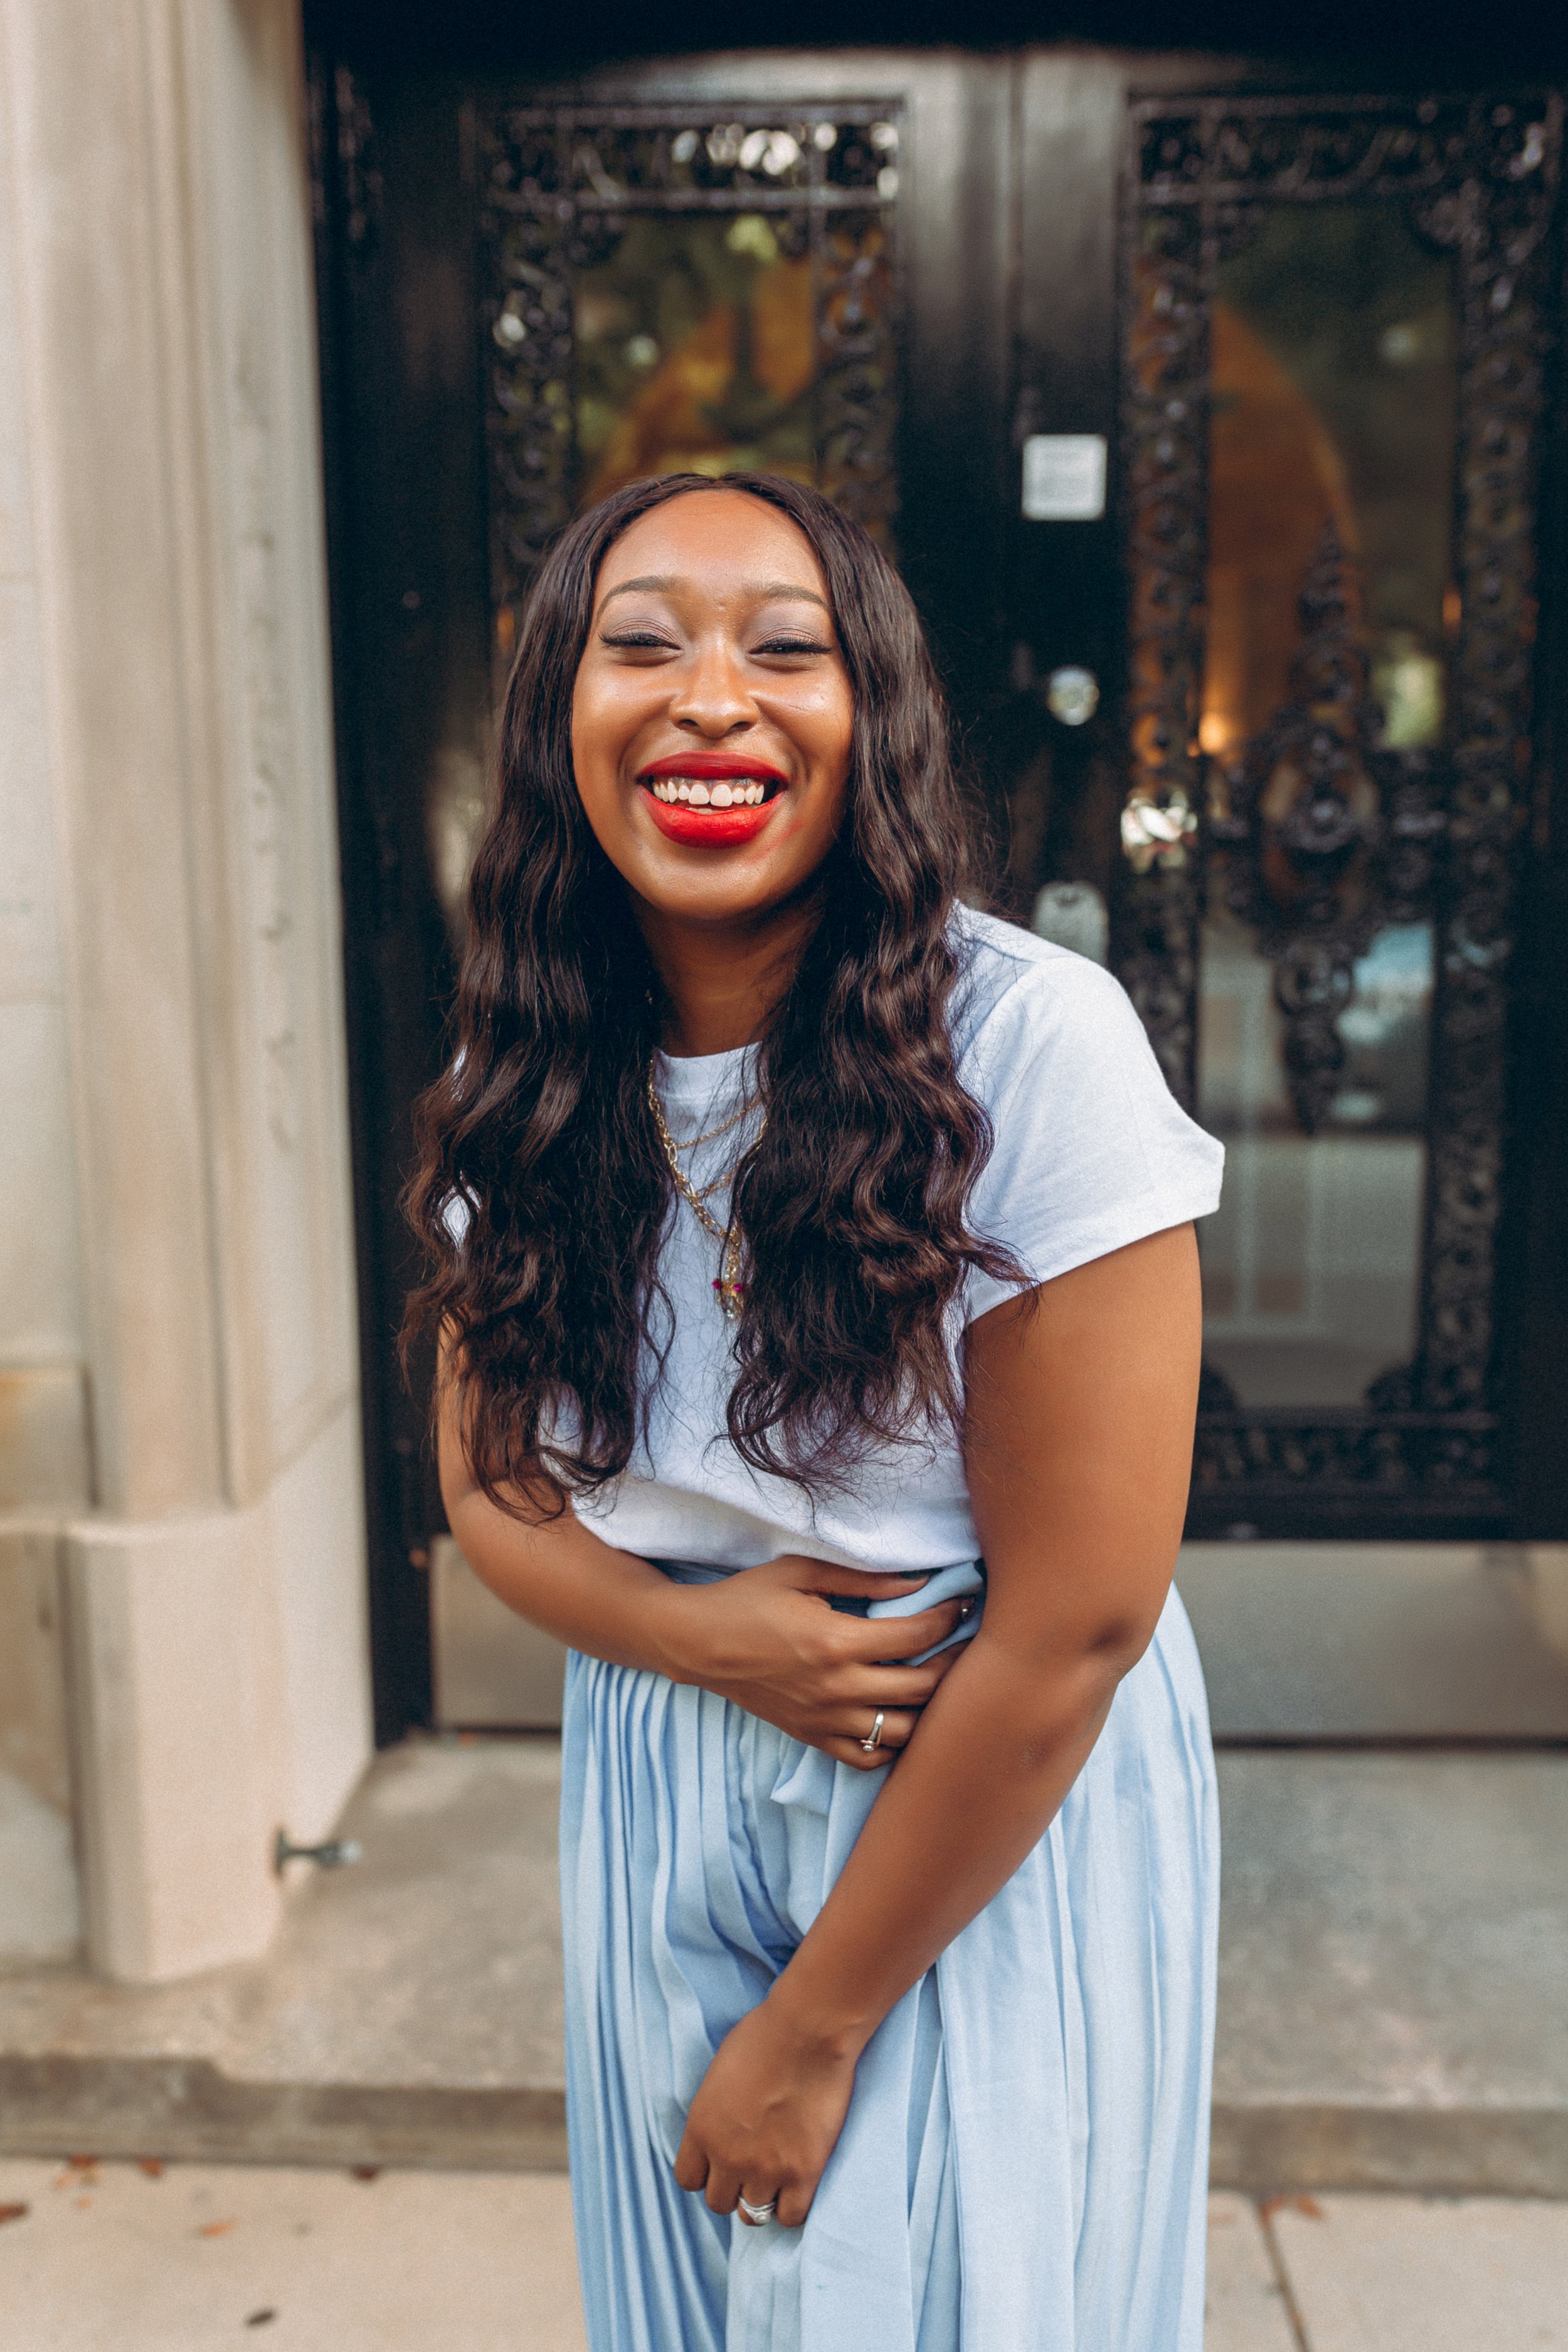
The Lazy Girl's Guide to the Perfect Slicked-Back Bun
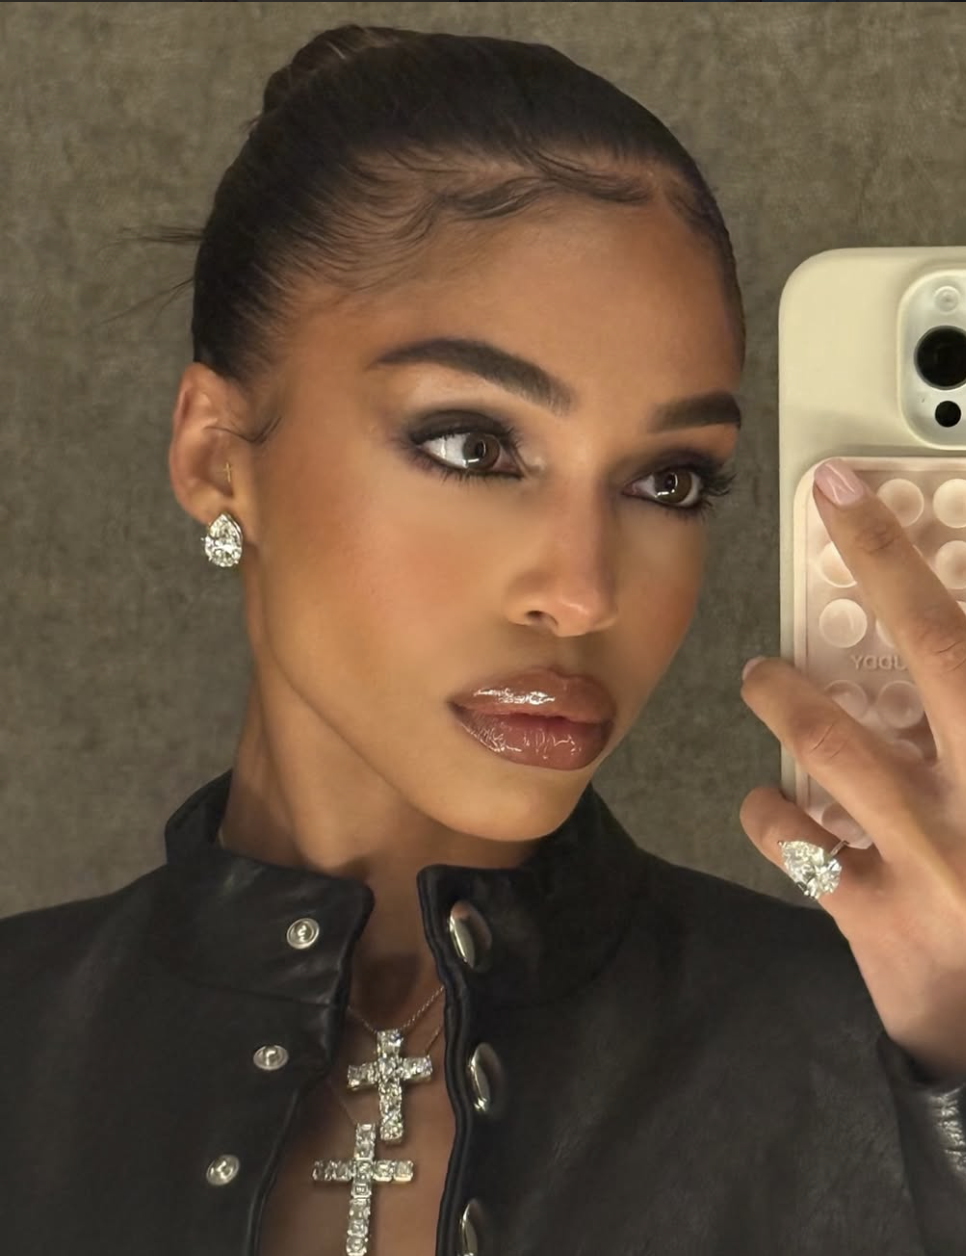
Photo Credit:@loriharvey
I have never once, in my entire life, woken up early enough to properly do my hair. It is simply not who I am as a person. And for years I thought that meant I had two options on a bad hair day: throw it in a messy topknot and hope for the best, or lose forty-five minutes I did not have to a blowout that would fall flat by lunch anyway. Neither felt like winning. Then, sometime last year, out of pure desperation on a morning I will not romanticize any further, I discovered that the slicked-back bun is not actually a "done hair" hairstyle at all. It's a five-minute one. It just looks like it took longer, which, frankly, is the entire con I am trying to run every single day of my life.
What I didn't expect was how forgiving it would be. It hides dry hair instead of fighting it. It works whether your hair is straight, wavy, or kinky. And once you know the actual order of operations — which took me embarrassingly long to figure out on my own it stops being a fussy updo and starts being a reflex, something you can do half-asleep with a coffee in one hand.
Need more low-effort hair and outfit ideas? Get them dropped straight to your inbox every morning sign up for our free daily newsletter here.
What You Actually Need
This is a short list on purpose. You do not need fifteen products for this — you need the right four or five, used in the right order. Here's what's actually earning its spot in my bathroom cabinet:
— A rat tail comb, for a part so clean it looks intentional
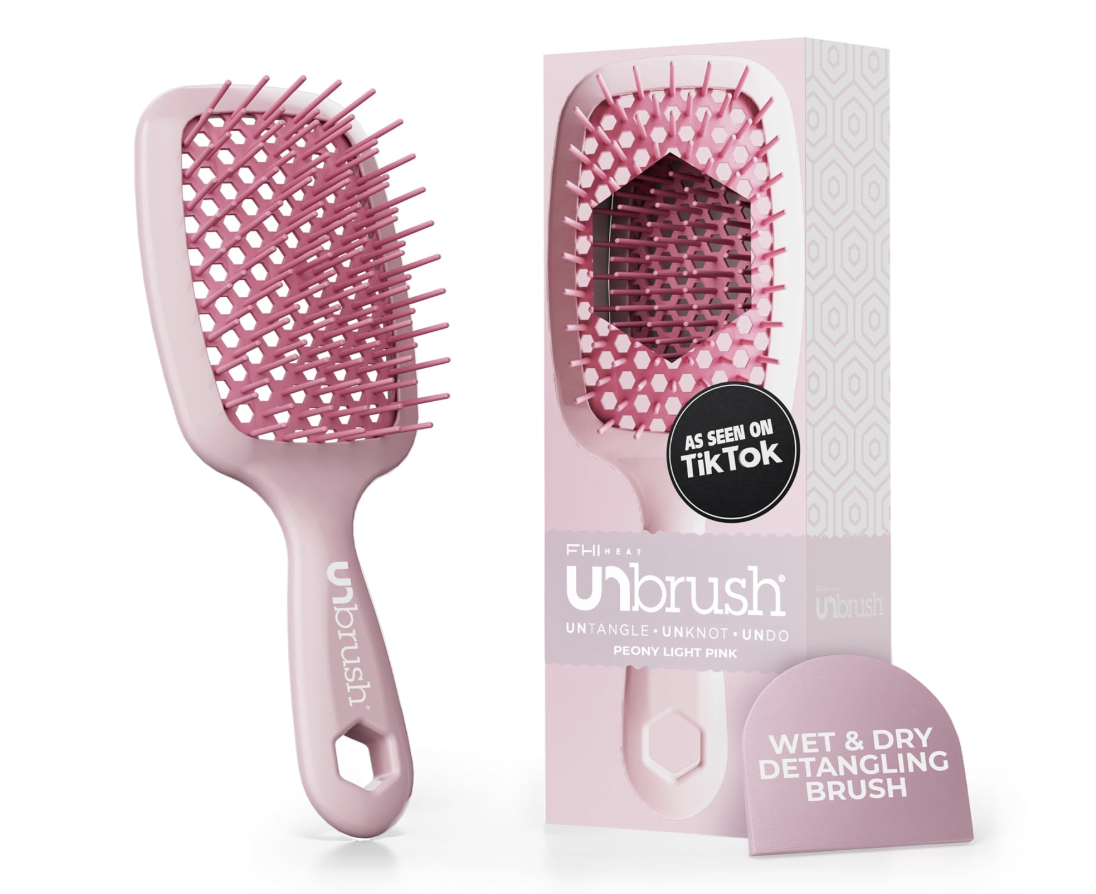
— A regular paddle or hair brush
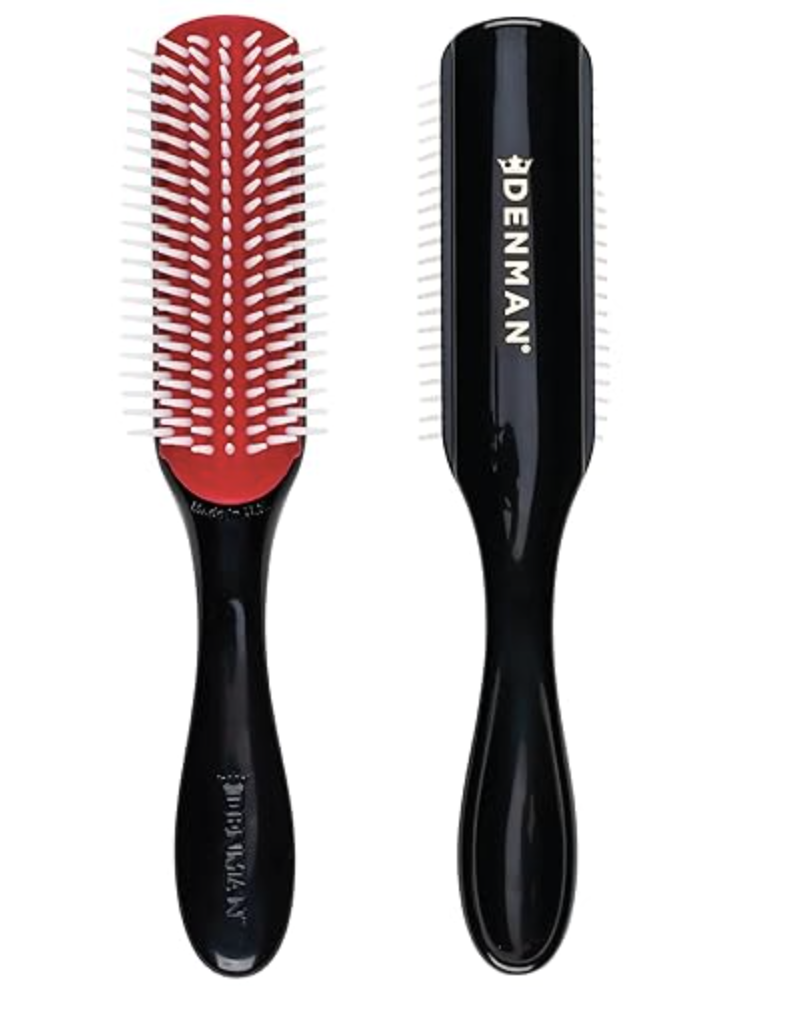
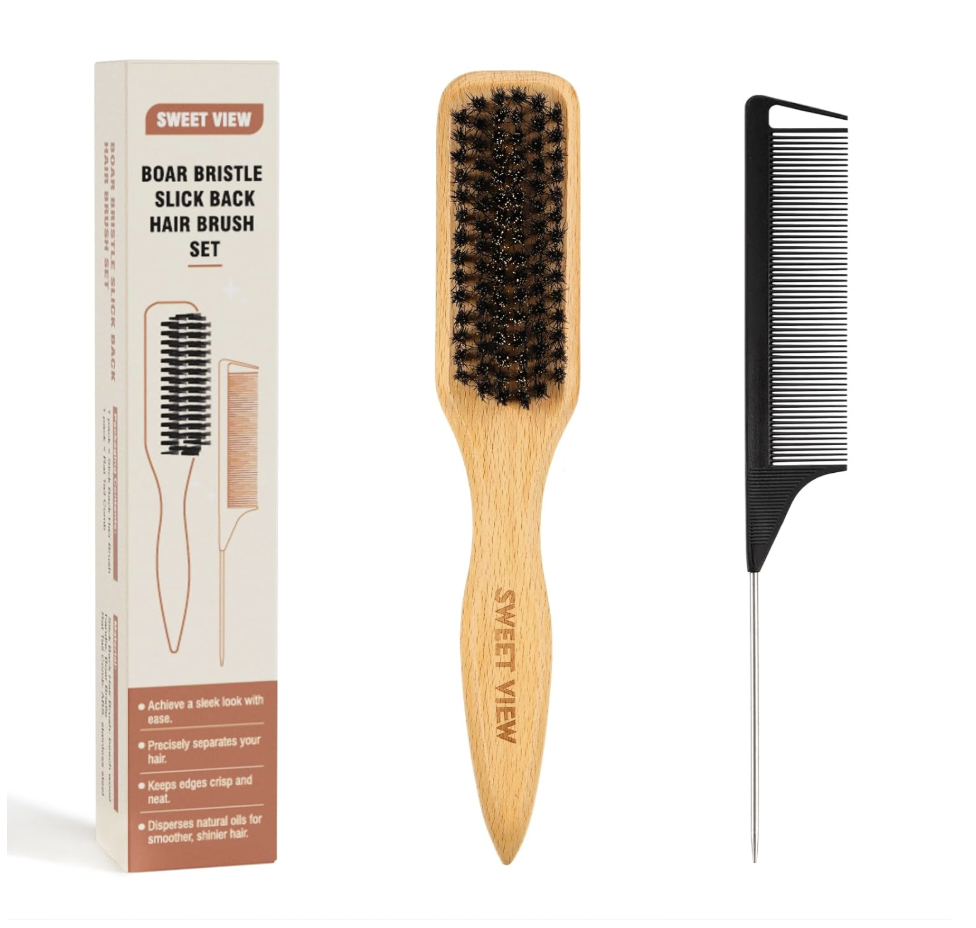
— A Denman brush if your hair runs thick, or a small edge brush for cleaning up baby hairs
— A spray bottle, filled with plain water
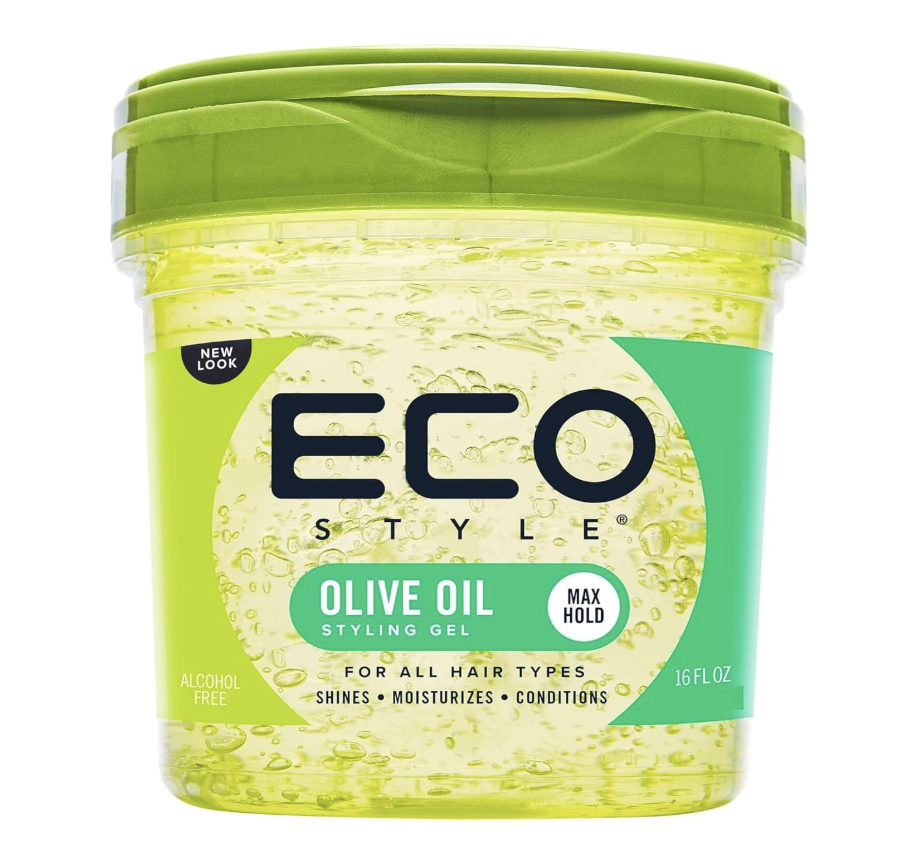
— Eco Style Gel — yes, the giant jar, and yes, you will use all of it eventually
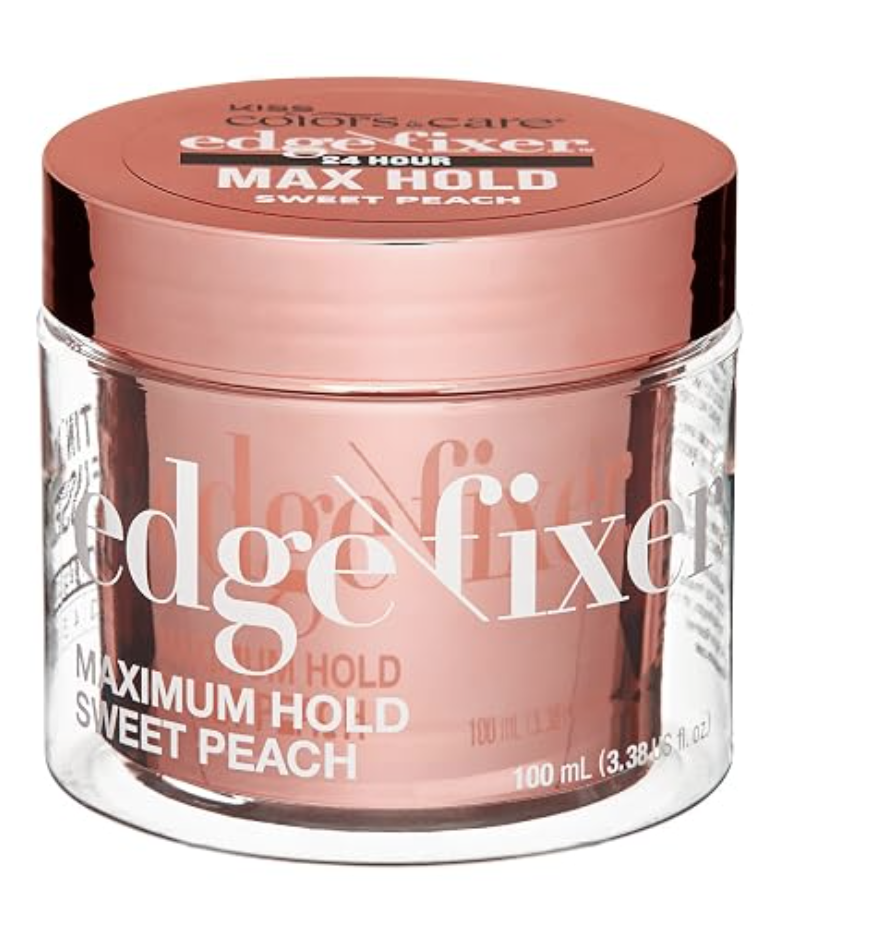
— An edge control, specifically Kiss Colors & Care Control in the maximum hold formula
— A styling cream, if your hair leans curly or textured, in addition to the gel
Step 1: Get Your Hair Properly Wet
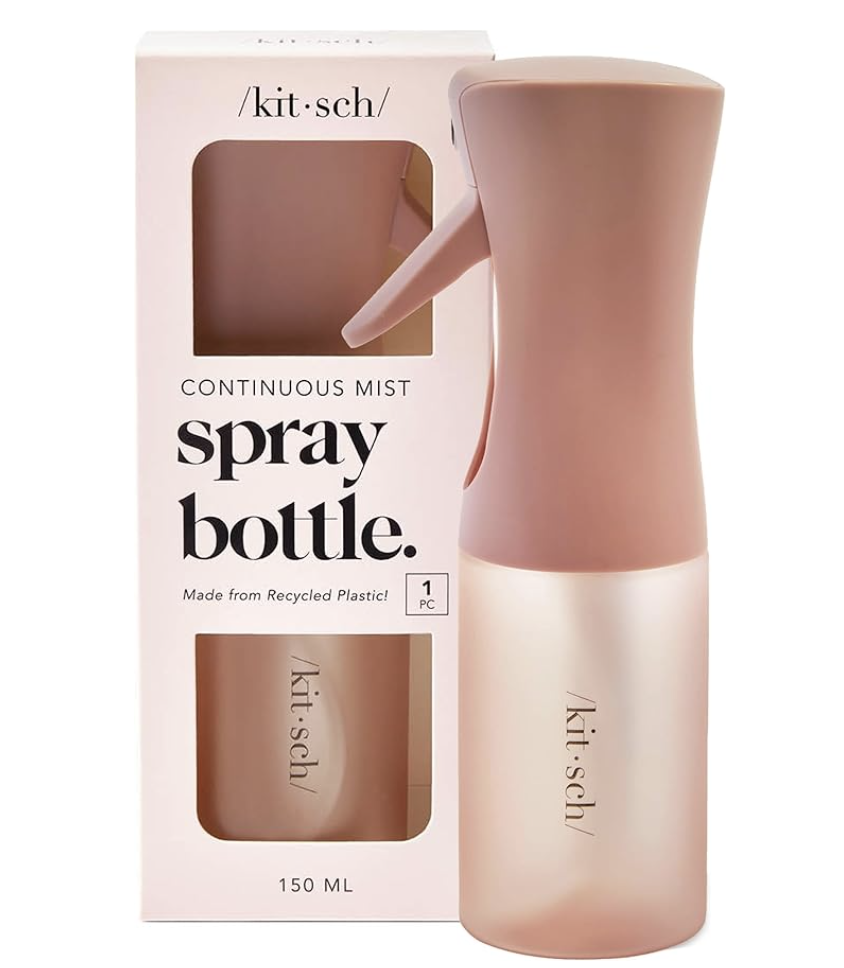
This is the step everyone skips and the one that actually matters most. A slicked-back bun on damp hair is a slicked-back bun that's coming undone by 2pm. Take your spray bottle and soak your hair not mist it, soak it until it's properly wet all the way through. The water is doing more of the actual "slicking" work than any product you're about to add. Think of the gel and edge control as reinforcements, not the main event.
Step 2: Choose and Carve Your Part
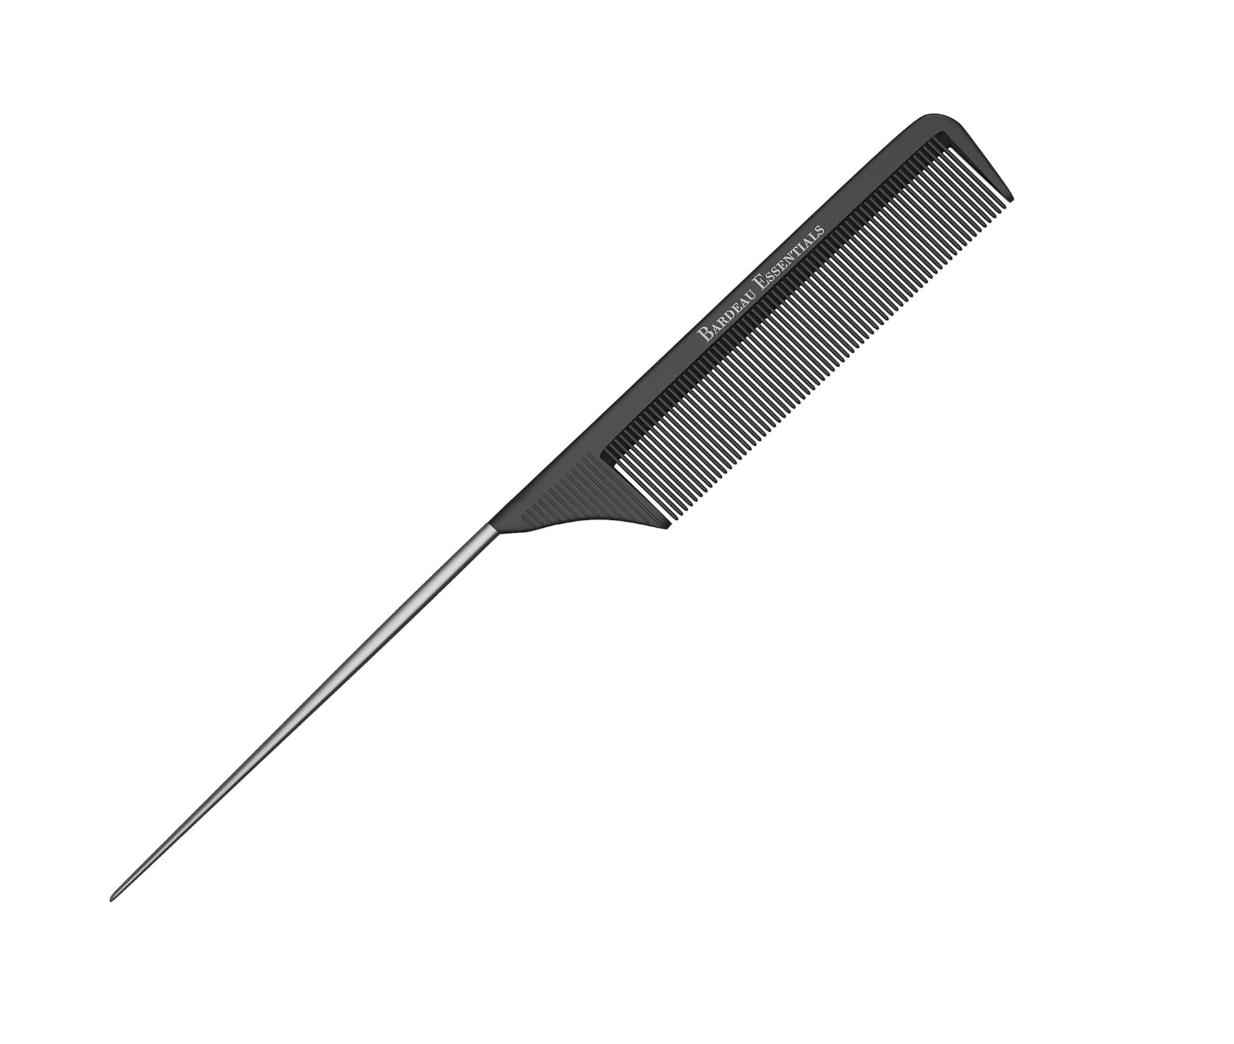
Middle part, side part, no part at all this is genuinely just a mood decision, and it changes the whole feel of the look. A middle part reads a little more polished and symmetrical; a deep side part feels a bit more directional and undone-on-purpose. Whichever you pick, use the rat tail comb's pointed end to carve it clean in one motion. A messy part is the one thing that will make this whole look feel unfinished, so don't rush this part.
Step 3: Apply the Gel
Scoop a coin-sized amount of Eco Style Gel more if your hair is longer or thicker and smooth it through from root to tip with your hands first, then your brush. You want an even, thin layer everywhere, not a thick clump at the crown and nothing at the ends. This is the product actually responsible for that glassy, no-flyaway finish everyone associates with this style.
Step 4: Lock Down the Edges
Go back in along your entire hairline with the edge control. This is the step that separates a good slicked-back bun from a great one it's what keeps your baby hairs and hairline from frizzing up the second you step outside. Use your edge brush, or the flat side of your Denman brush, to press everything down flat against your scalp, working in small sections rather than trying to flatten your whole hairline in one swipe.
Step 5: Brush, Smooth, Tie
Now brush everything straight back, firmly and in one continuous motion, gathering it as you go. Tie it off at whatever height feels right higher for something a little more sport-luxe, lower for something quieter and more polished. Go back over any bumps with your brush before you call it done.
Step 6: Handle Curly or Textured Hair
If your hair is curly or coily, add one more step before you brush it all back: work a small amount of styling cream through the ends, in addition to the gel. The cream keeps the length from looking chalky, dry, or stiff once it's pulled tight, which is the single biggest complaint I hear about slicked styles on textured hair. Curly hair will also need more brushing and more product overall to lay completely flat — that's normal, not a sign you're doing it wrong.
3 Ways to Dress It Up or Down
For daytime, I leave mine exactly as is with a pair of gold hoops and call it done. For the office or a dinner reservation, I'll wrap a thin silk scarf around the base of the bun, which somehow makes the whole thing look deliberate rather than rushed. And for an actual night out, I'll pull two face-framing pieces loose from the front and curl just the ends — it softens the severity of the slick-back without undoing any of the work.
FAQ: Your Slicked-Back Bun Questions, Answered
Is this bad for my hair? Any style that pulls tight at the hairline, worn constantly, can lead to tension and breakage over time. I don't wear mine more than a few days in a row, and I make sure to wash the gel and edge control out thoroughly before I do it again.
Will it work on short hair? Yes, as long as you can gather it into a small ponytail. It'll just be a smaller bun, and a middle part tends to look more intentional on shorter lengths.
How do I make it last all day without touch-ups? The wet-hair step is non-negotiable, and don't be shy with the edge control along the hairline specifically — that's where it fails first.
You May Also Like:
The Best Protective Styles for Low-Maintenance Weeks
The Best Scalp Tools in 2026 (Massagers, Scrubbers, and Brushes for Every Hair Type)
After Reviewing 22 Edge Controls, These Are the 8 That Don’t Flake or Lift

✦ Creator images used for editorial purposes only. All rights belong to their respective creators. We always link and give credit.
✦ Check Out Our Men's Site
Trending on MensOutfitsDaily