
The 5-Minute Sweat-Proof Evening
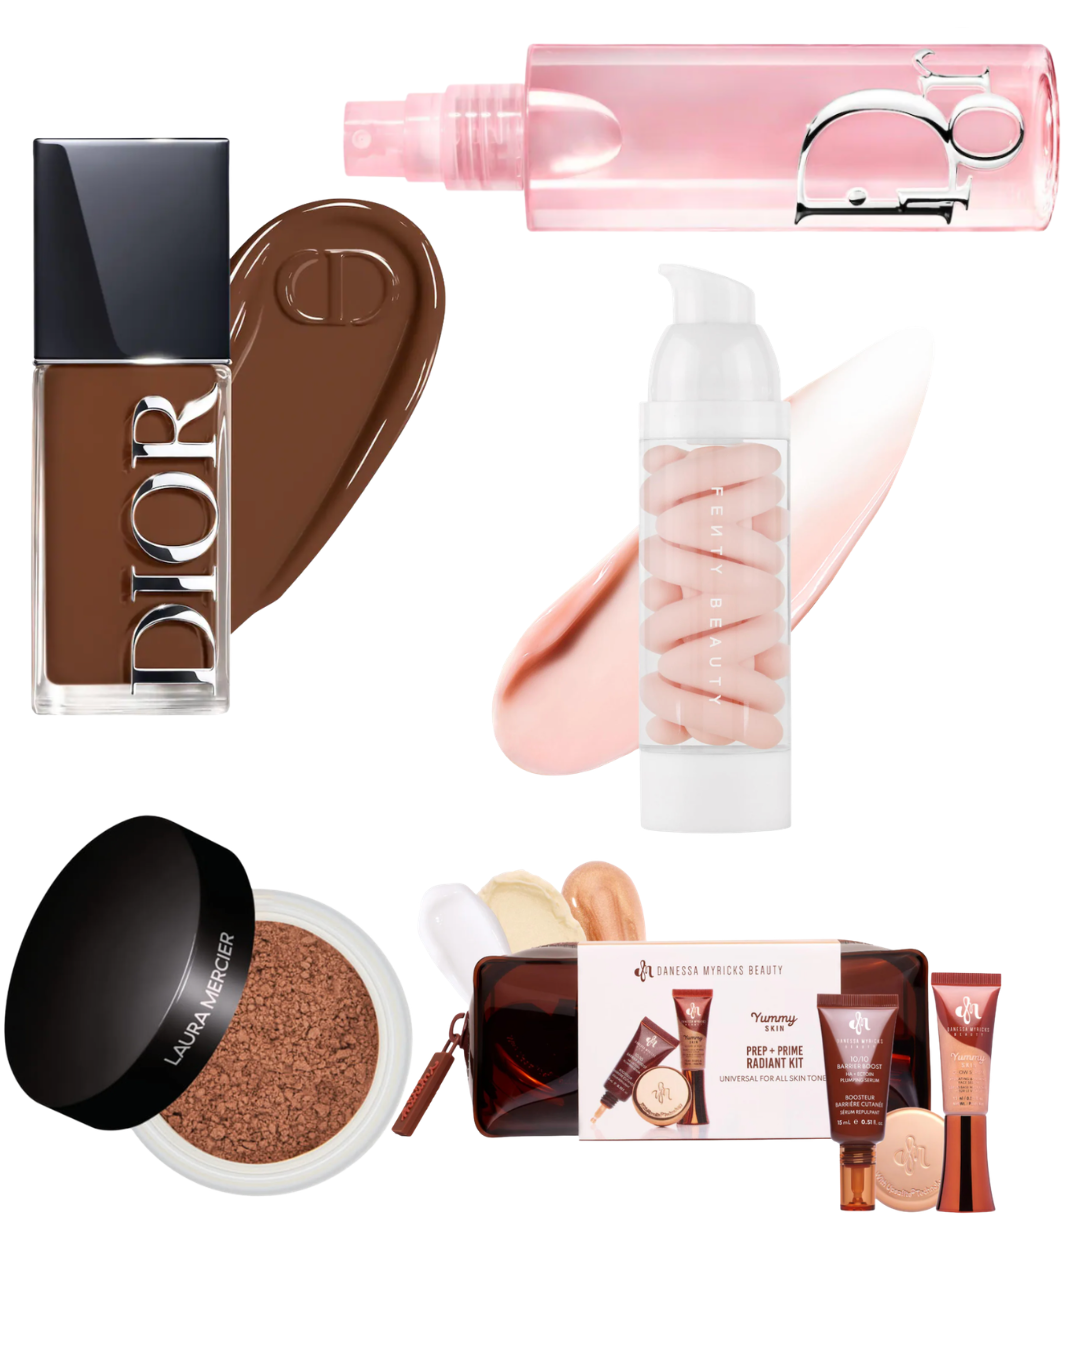
For a long time I genuinely believed that melting makeup was just a tax I had to pay for having plans in July that somewhere between leaving my apartment and arriving at dinner, my face was contractually obligated to slide off. It took an embarrassing number of ruined dinner-out photos before I actually sat down and figured out where it was going wrong, and it turns out it was never really about the heat at all. It was three specific, fixable habits: skipping primer entirely, setting my makeup the wrong way, and never once carrying a touch-up kit that could actually undo the damage in real time.
Once I fixed those three things, the whole equation changed. This isn't a twelve-step routine it's five minutes, start to finish, and it's the difference between a face that survives a humid outdoor dinner and one that doesn't survive the walk there.
Why Your Makeup Melts by 7pm
It's rarely the foundation's fault, no matter how much we all like to blame it. It's almost always a missing or wrong primer, a powder that isn't actually formulated to absorb oil, and a setting spray that was never built to handle real humidity in the first place. Fix those three variables and most foundations, even ones you already own and have written off, will hold up fine.
Step 1: Prime With Purpose
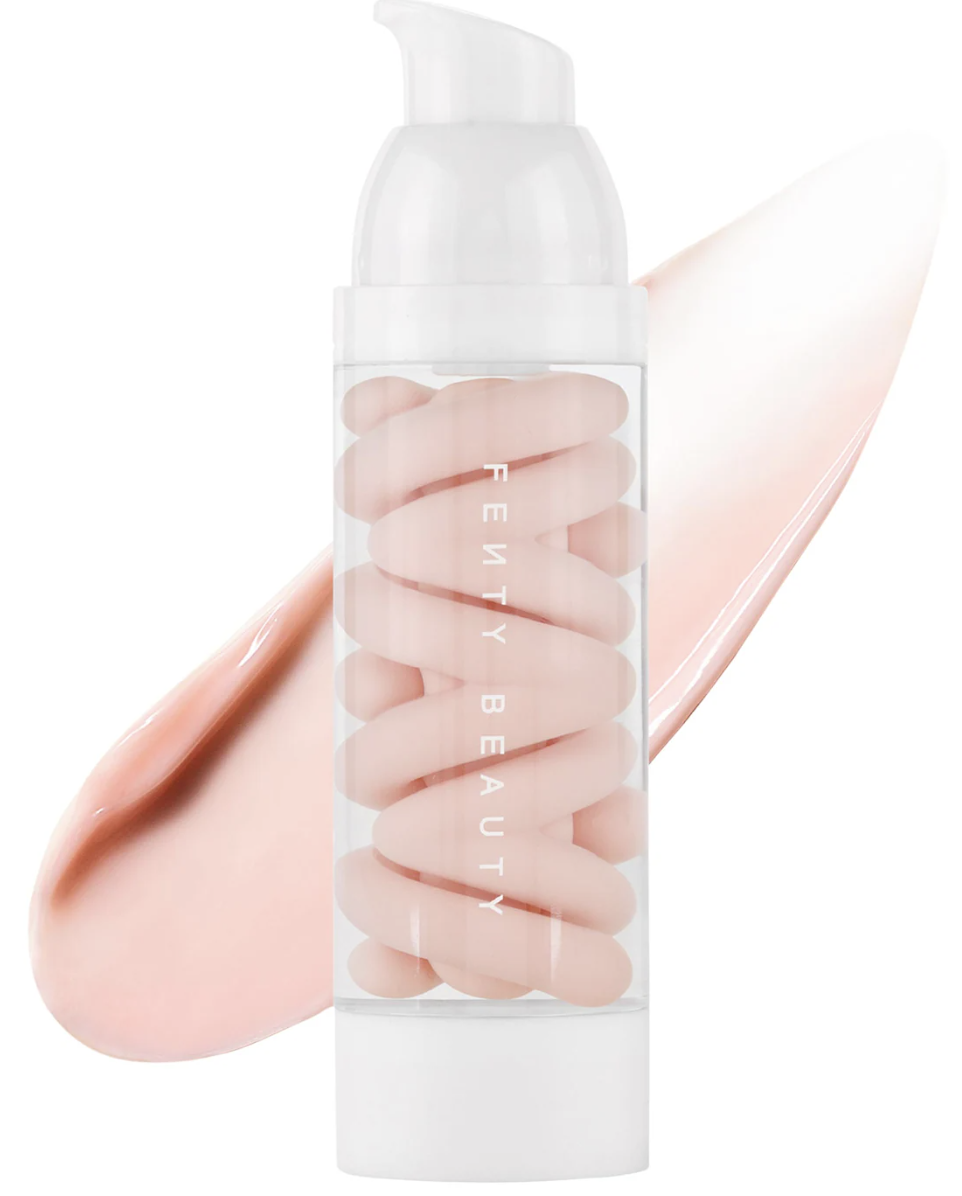
Start with a mattifying, pore-blurring primer and focus it specifically on your T-zone, where oil breaks through first. This is the step that gives your foundation something to actually grip onto instead of sliding around on bare, humid skin.
Step 2: Apply Foundation as Usual
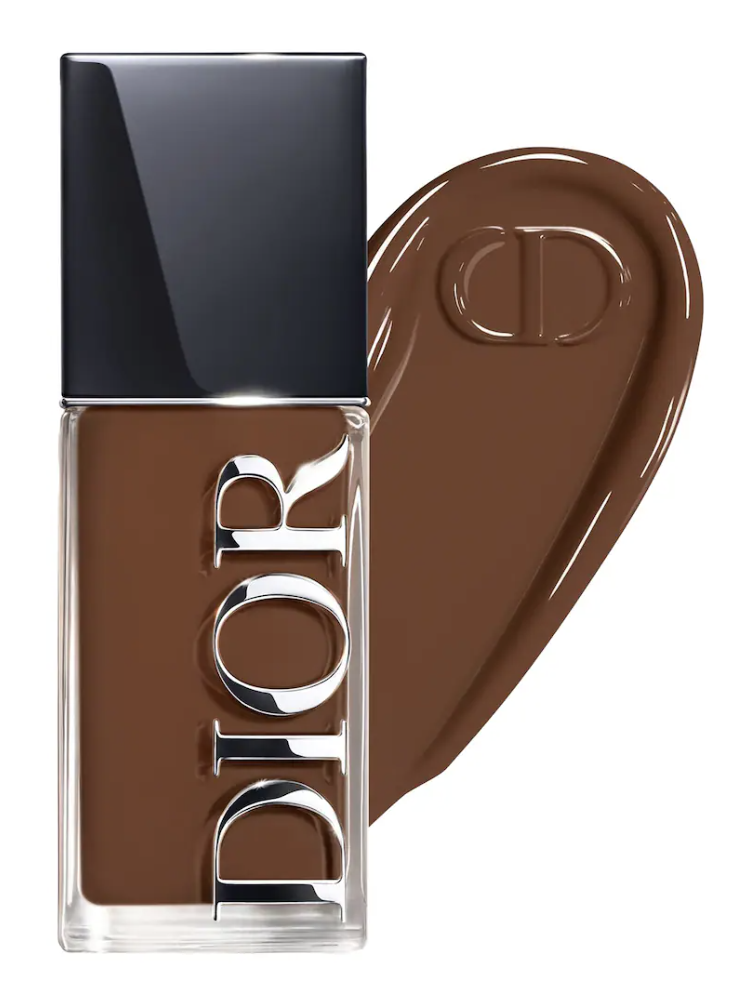
Nothing changes here — apply exactly the way you normally would. The primer underneath and the setting steps ahead are doing the real work of making it last, so there's no need to overcompensate with extra layers of foundation itself.
Step 3: Set It the Right Way
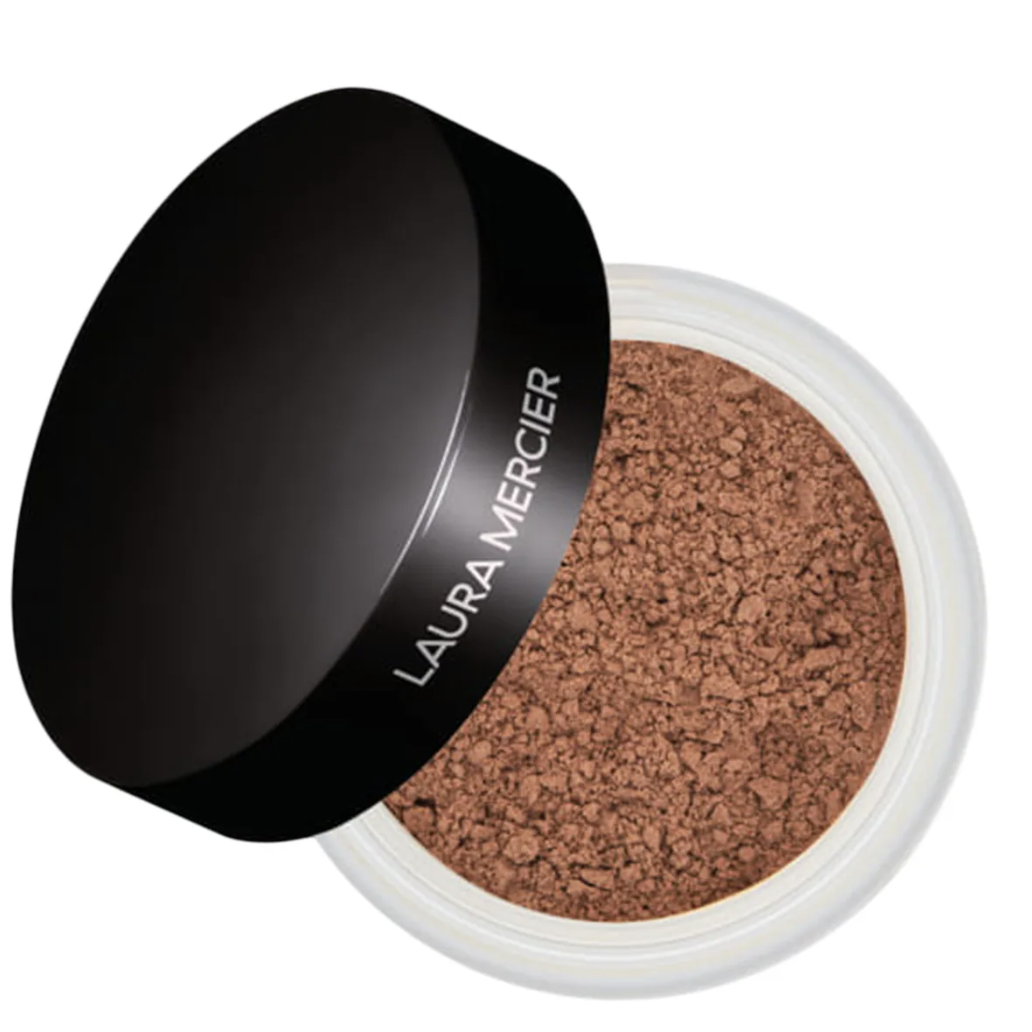
This is the step most people get wrong. Set with a translucent powder pressed in with a puff, not swept on with a brush — pressing pushes the powder into the foundation rather than just dusting the surface, which is the difference between makeup that holds for hours and makeup that shines through by the appetizer course.
Step 4: Lock It In With Spray
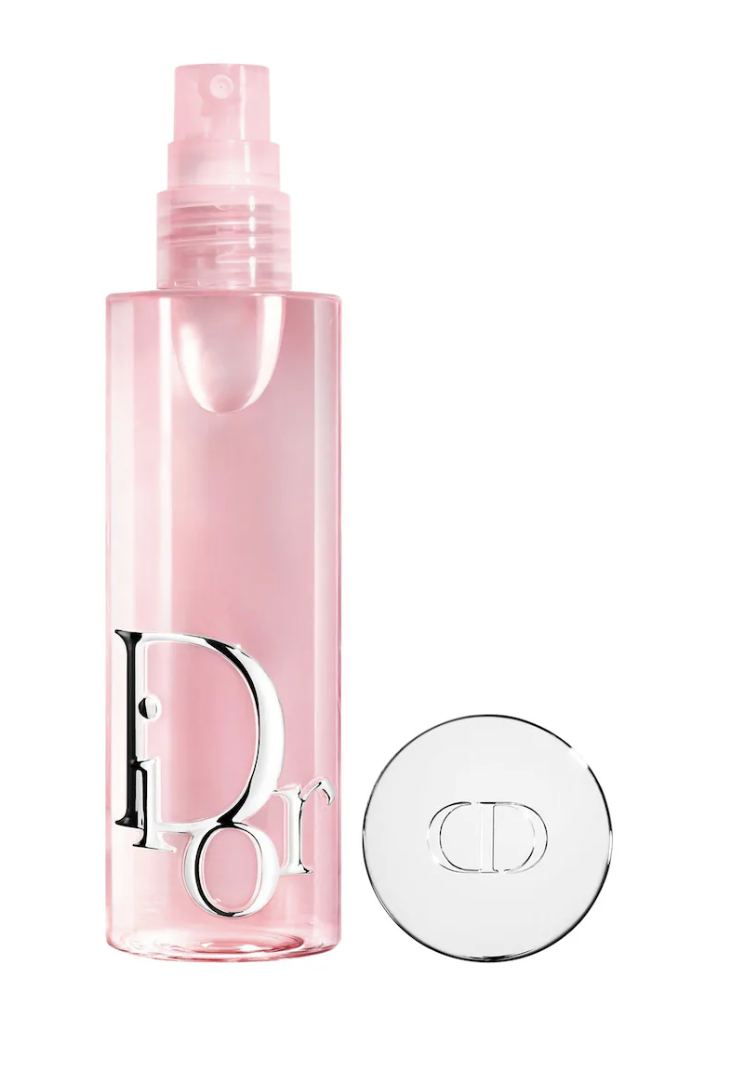
Finish with a humidity-resistant setting spray, held about eight inches from your face, sweeping in an X-and-T motion to cover everything evenly. This final layer is what actually stands between your makeup and real outdoor humidity, so don't skip it just because you already powdered.
The Touch-Up Kit for Your Bag
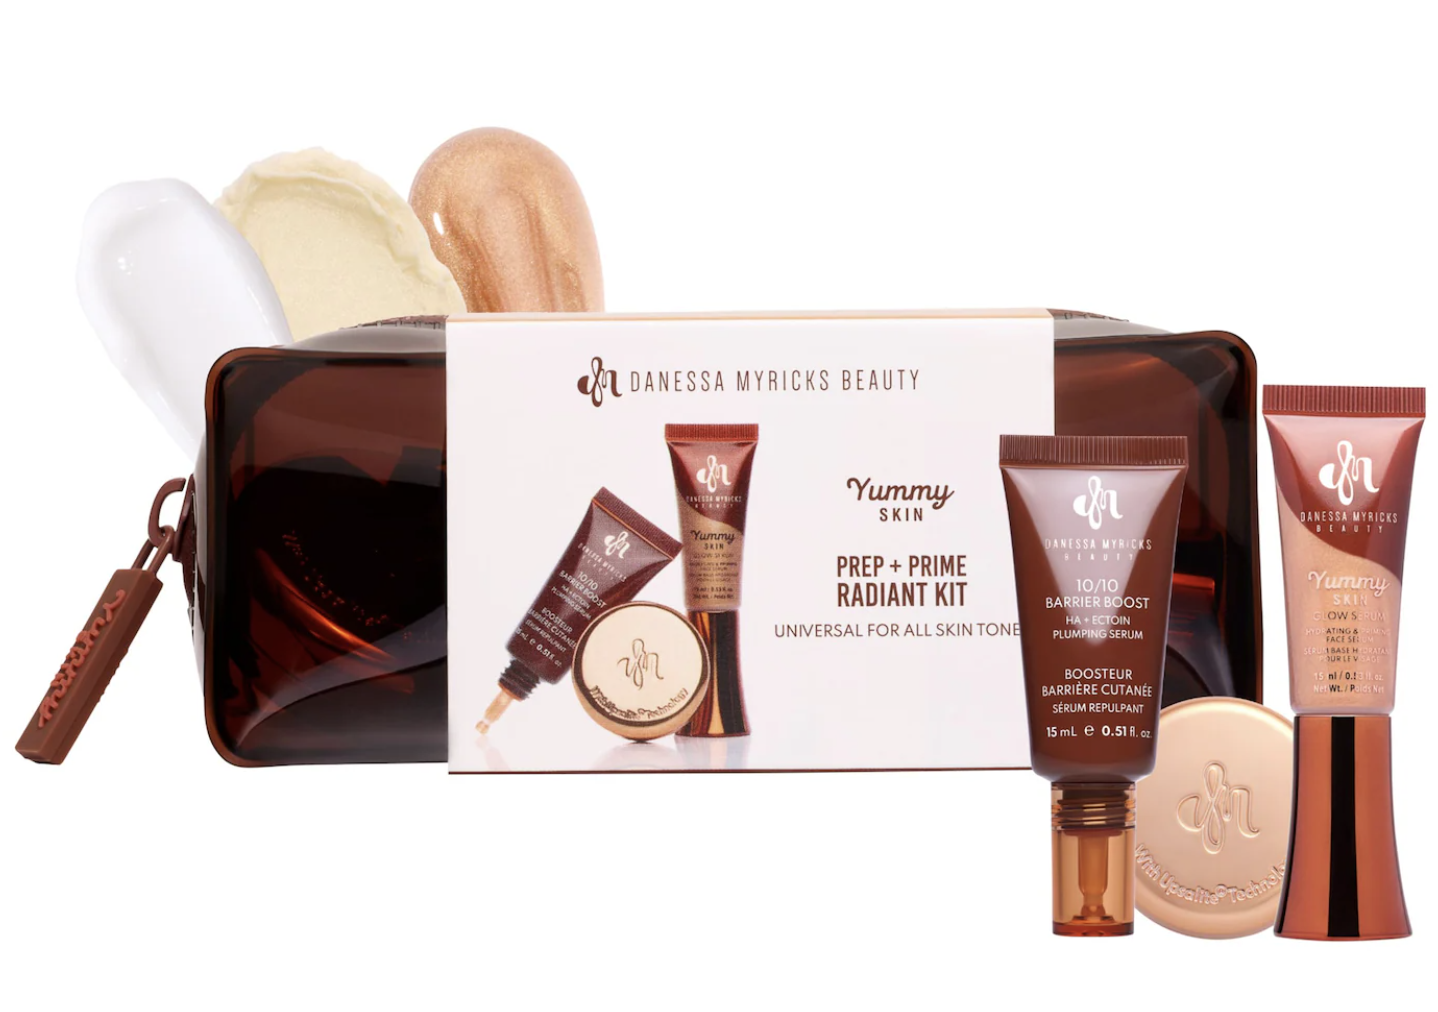
Blotting papers, a travel-size setting spray, and a cream blush you can dab back on in under thirty seconds. That's the entire kit — anything bulkier than that and you genuinely will not carry it, which defeats the purpose.
FAQ: Humidity-Proof Makeup
Do I need different products for humid climates specifically? Not entirely different, but prioritize oil-absorbing formulas over dewy ones in your primer and powder, since dewy finishes tend to slide in high humidity.
Can I skip powder if my skin is already dry? A light, targeted application in just the T-zone is still worth it — even dry skin produces oil in the areas that break through first.
How often should I use the touch-up kit? Once every few hours if you're outdoors, or any time you notice shine starting to break through, whichever comes first.
You May Also Like:
I Tested the Internet’s Favorite Liquid Blushes Side-by-Side to See If a $25 Bottle Beats a $7 One
I Didn’t Expect This Liquid Blush to Become My Summer Makeup Staple

✦ Creator images used for editorial purposes only. All rights belong to their respective creators. We always link and give credit.
✦ Check Out Our Men's Site
Trending on MensOutfitsDaily